Have you been wondering how to turn those tricky, tiny parts of stuffed animals with ease?
Whether you’re sewing delicate doll limbs, plush ears, or other small, detailed pieces, it can often feel like a frustrating challenge.
But don’t worry—I’ll show you a simple, game-changing trick that takes the stress out of this process.
In fact, it’s so easy to master that even my youngest one managed to do it with ease when she was just 2.5 years old!
Let me walk you through this clever technique so you can save time and enjoy creating adorable stuffed animals without the hassle.
What you need to turn small parts of stuffed animals:
- Wooden spoon
- 2 sheets of letter size or A4 paper
- Adhesive tape
- Chopstick
- Scissors
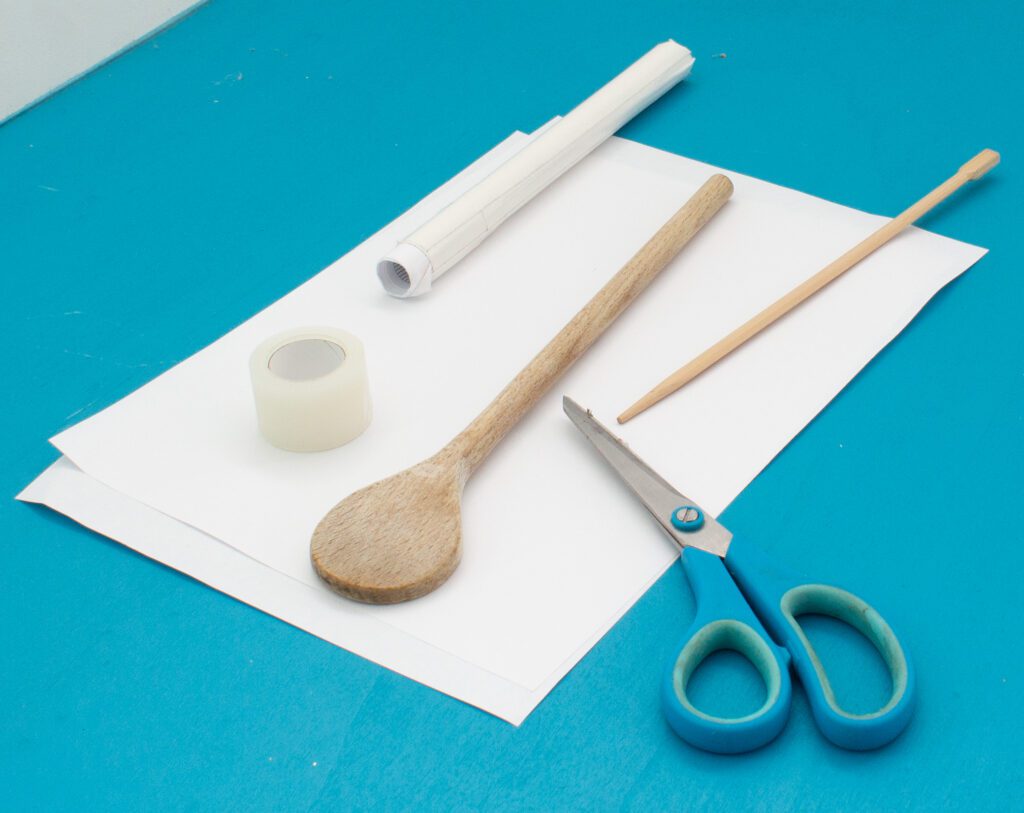
How to turn small parts of stuffed animals
Constructing a tube
Take the wooden spoon and roll the two A4/US letter sheets around it until a stable tube is formed.
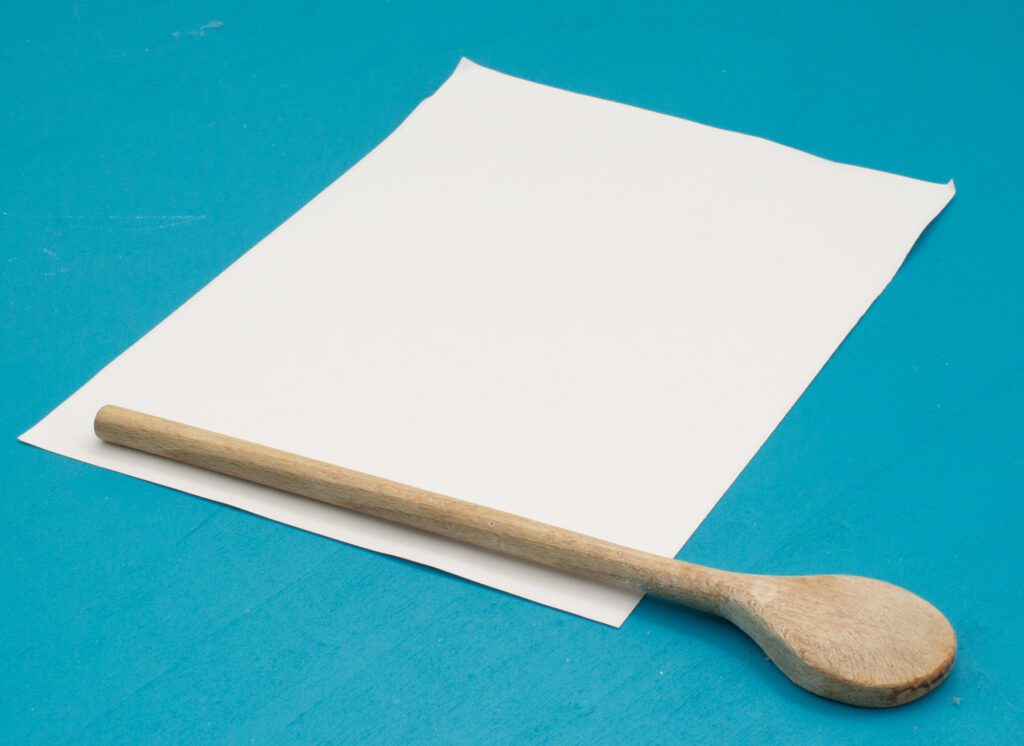
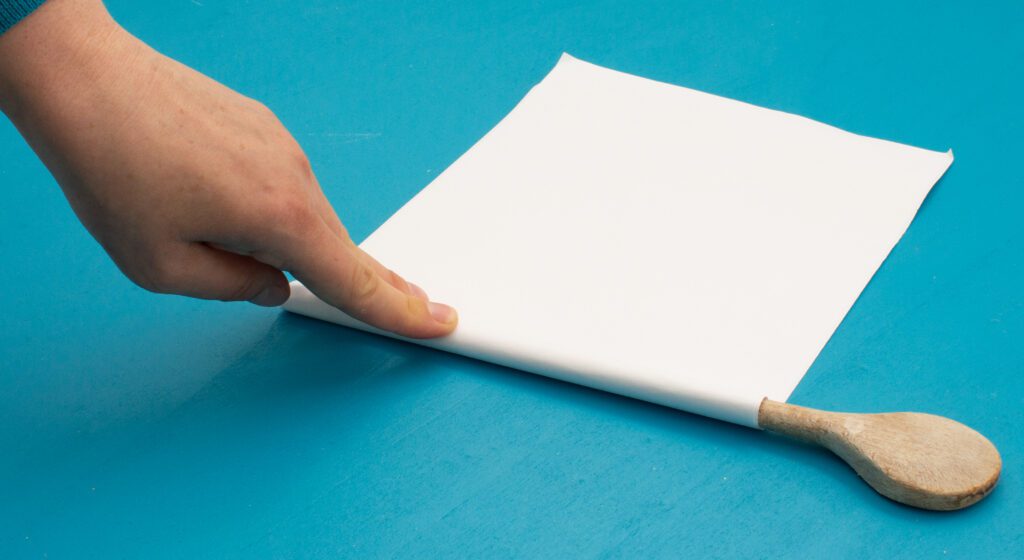
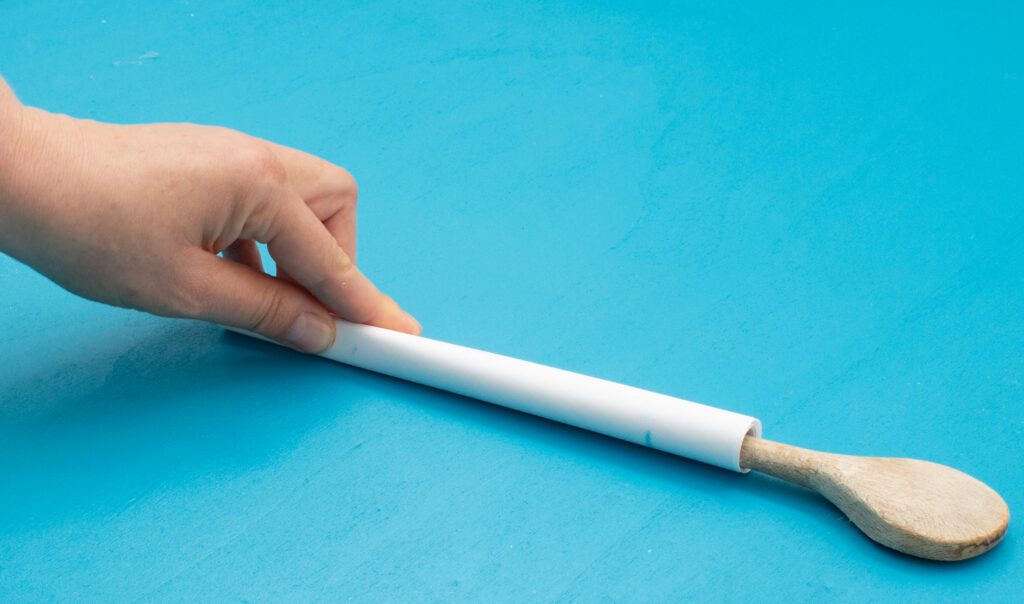
Leave the diameter preferably as it is or make the tube slightly larger – but it still needs to fit easily into the arms of the cat.
Now, secure the tube with adhesive tape.
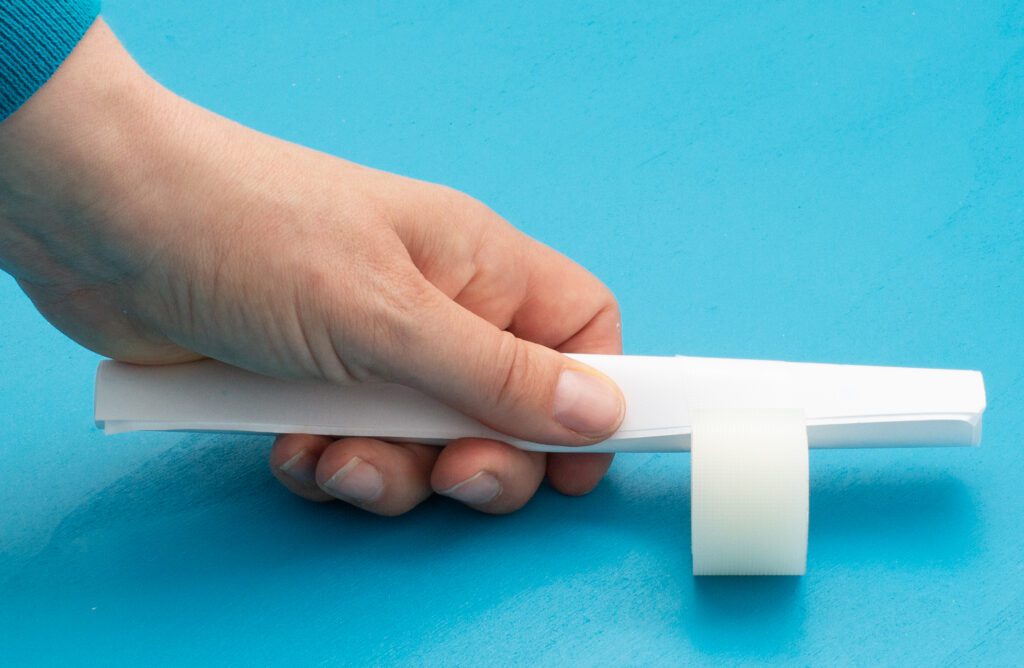

Stuffed animal small part turning
Now, insert the paper tube into one of the arms.
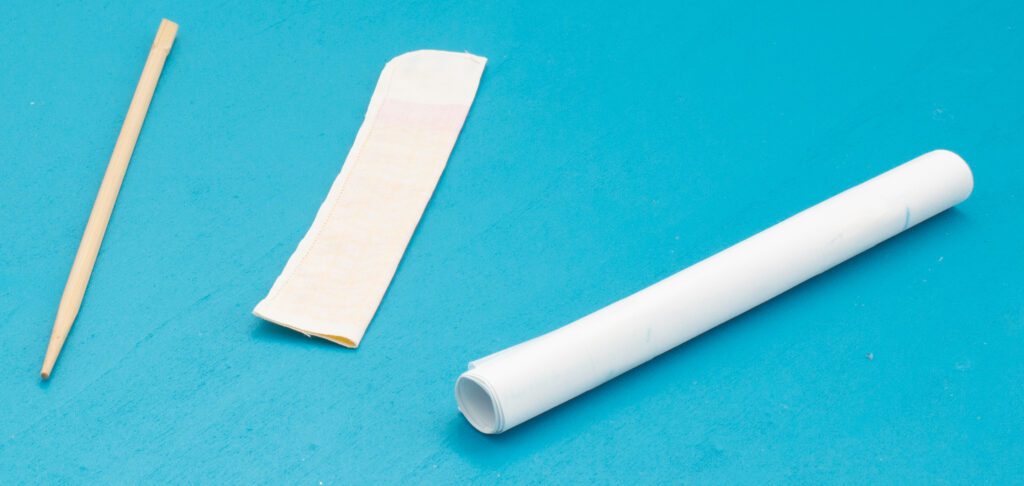
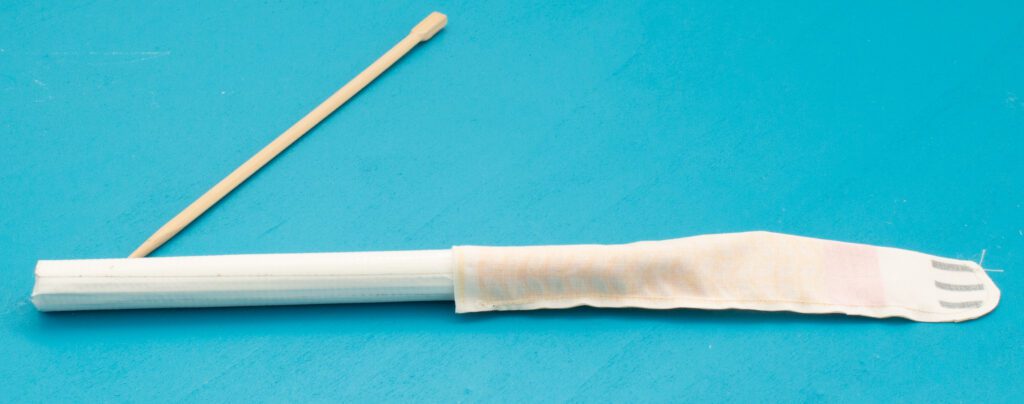
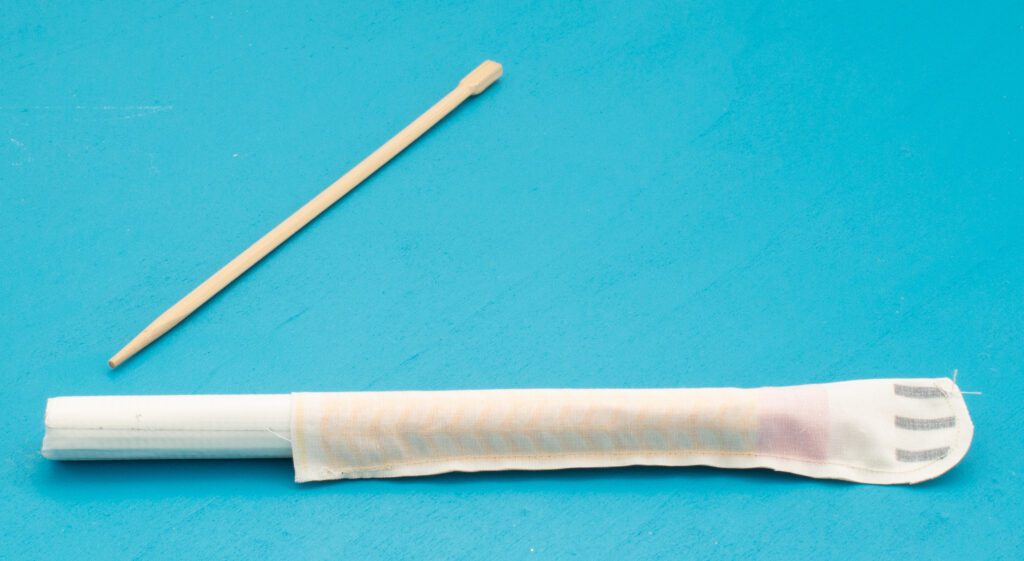
Take the chopstick and push the fabric on the closed side of the arm (the paw) into the tube.


Push the fabric into the tube until it comes out the other end.
Now, you can simply pull with your hand until the fabric arm is completely out of the tube.


Shaping small parts of stuffed animals
Now, insert the chopstick into the fabric arm and shape the arm so that all the “corners” are neatly pressed outward.
DONE!

Repeat the process with all small parts such as arms, legs, …
Want to know how to fill the small parts of the stuffed animals with ease?
Head over to my blog post “Effortlessly stuff small parts of stuffed animals with filling cotton: The stuffing hack for small stuffed animal parts”
Want to continue making your “Crazy Cat Companion”?
Head back to the tutorial.


0 Comments