How to sew your personalized Advent calendar with with the cut-and-sew fabric panel

Nov 19, 2024 | Step-by-step illustrated tutorial, Dining Room, Entrance Hall, Living Room, Nursery, Playroom, SR, Student Apartment

Preview for the cut-and-sew Advent calendar showing a sewn little fabric bag in bold green with little gifts and a happy fun Christmas cat on it.

Looking for a fun, festive, and personalisable project this holiday season? I’ve designed a charming cut-and-sew fabric panel for an Advent calendar with little fabric bags that you can customise to fit your personal interior design style. With so many pattern options available, you’re sure to find a version that complements your home perfectly! Plus, the same patterns on the little bags are available across my range of wallpaper, bedding, and home decor, allowing you to create a beautifully coordinated look.

This easy-to-follow project is ideal for sewists of all skill levels, making it a wonderful activity for beginners or children, especially with a little help from parents or grandparents.

This Advent calendar project is not only enjoyable to sew, but it’s also sustainable, creating a unique decoration that can be cherished for years to come. Hand it down to your children and grandchildren to start a family tradition that lasts through the generations.

What you need to sew the advent calendar

Materials needed for sewing the Advent calendar:

  • Advent calendar fabric panel
  • scissors
  • matching sewing thread

Optional:

  • pins
  • electric iron
  • satin ribbon, approx. 6 mm (0.23 inches) wide, about 7.5 meters (8.2 yards)
  • chopstick or similar tool to shape the corners
  • safety pin

Materials needed for hanging the Advent calendar:

  • thick cord, about 1 cm (0.4 inches) thick, 4-5 meters (4.4-5.4 yards) long

Optional:

  • small clothespins

Instructions:

Sewing instruction advent calendar fabric bags
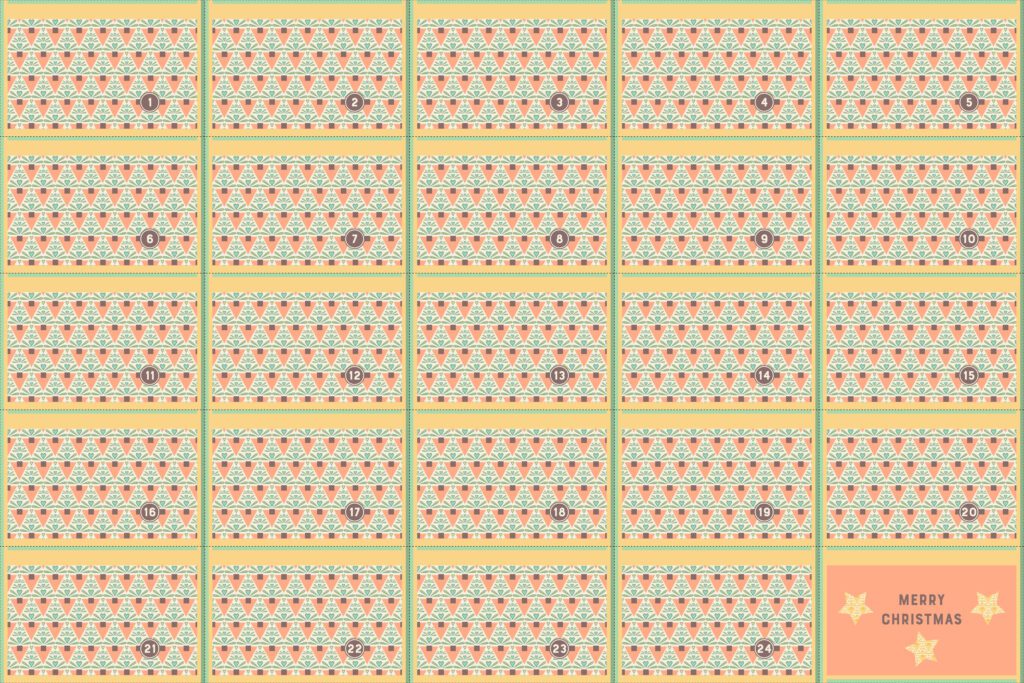
The whole cut-and-sew fabric panel for the Advent calendar.

Wash the Advent calendar fabric panel according to the instructions.

Iron the Advent calendar fabric panel.

Cut the fabric panel into 25 pieces along the dashed black lines.
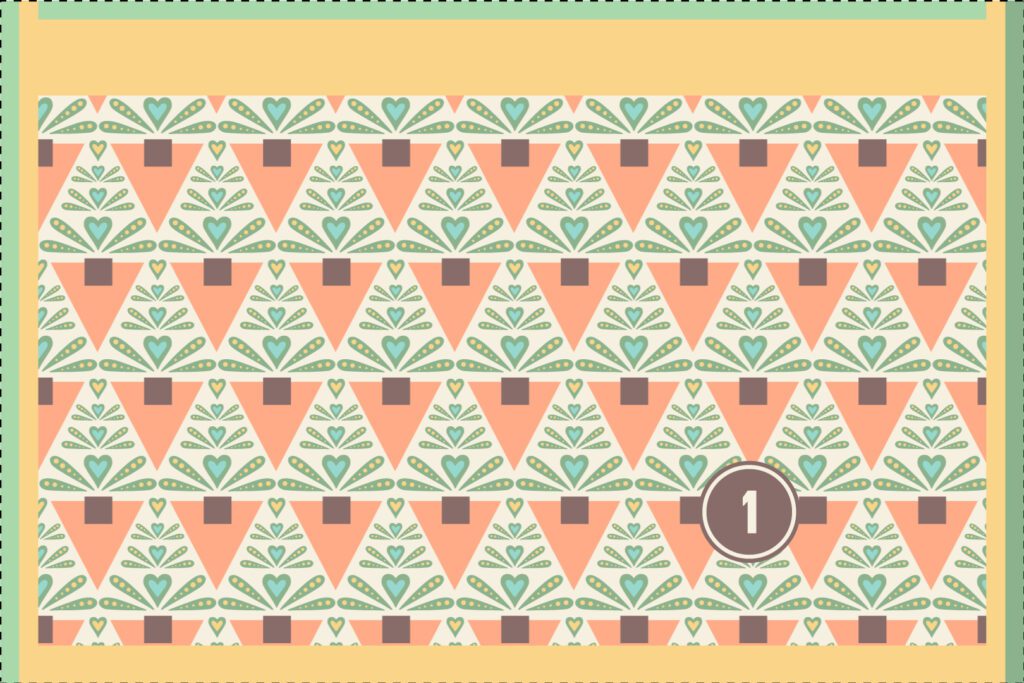
The cut fabric for the first Advent calendar bag.

Take the first piece of fabric and lay it down with the “right” side facing the table.
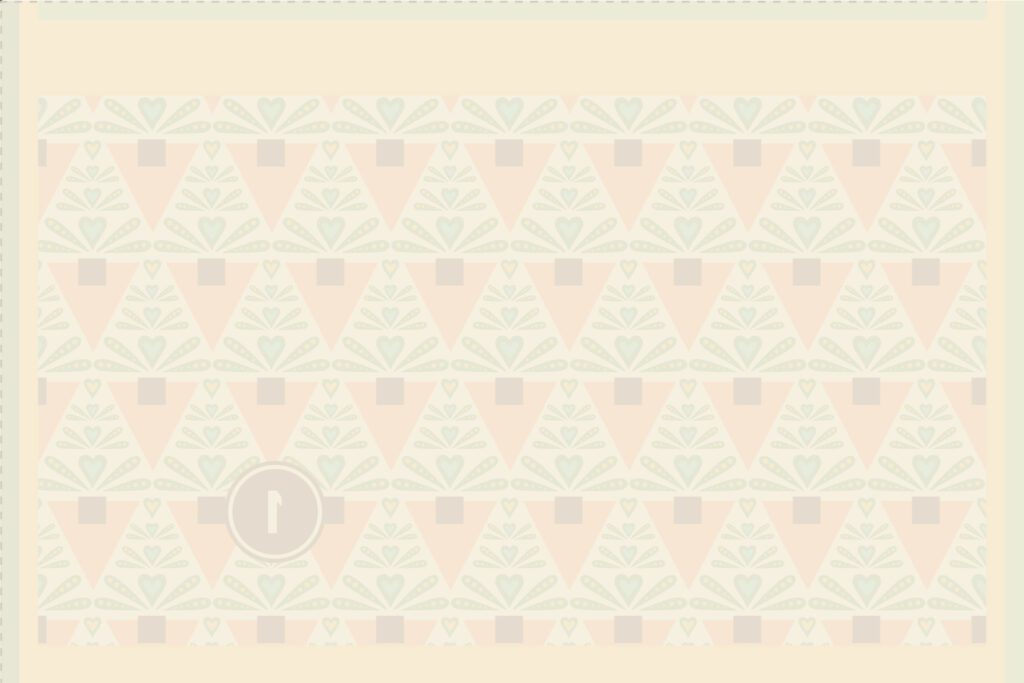
First bag fabric left side up

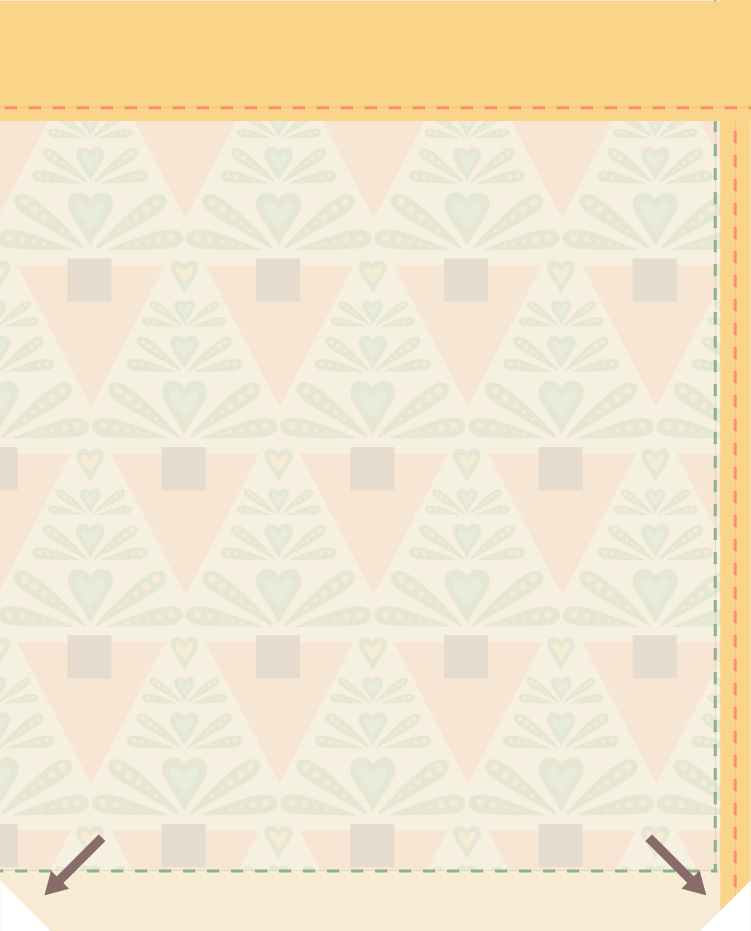
Fold the shorter sides along the colored markings twice and sew the folded fabric down.
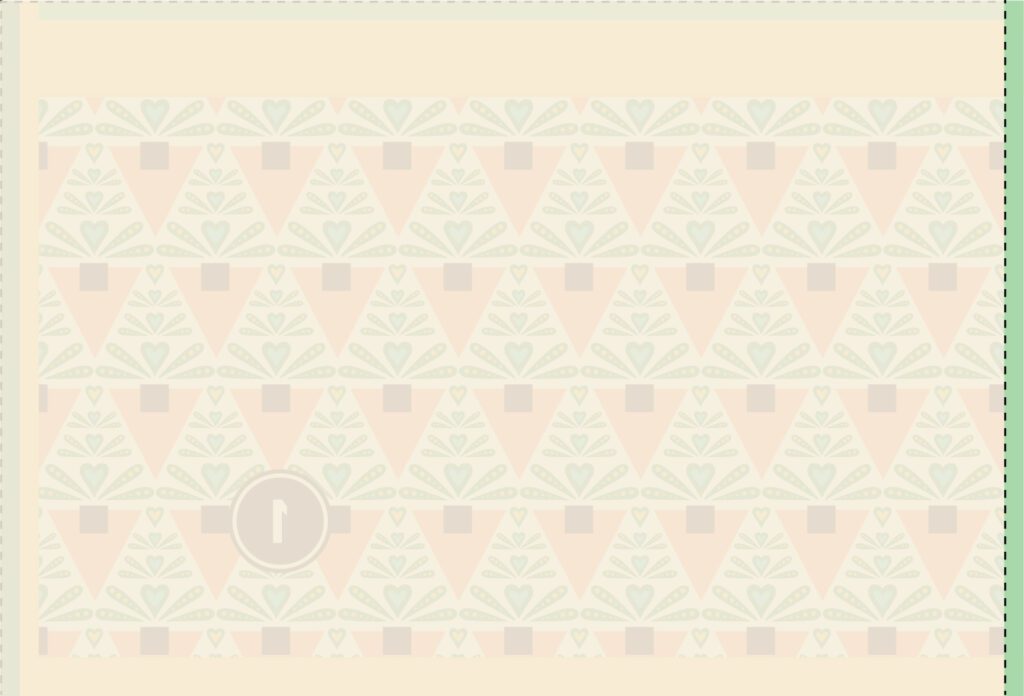
First bag fabric left side up one short side folded once along the marked lines
First bag fabric left side up one short side folded twice along the marked lines
First bag fabric left side up one short side folded twice along the marked lines and a seam made on it.

Repeat all steps for the (short) left side.

Fabric of the first bag also folded once on the other short side
Fabric of the first bag also folded twice on the other short side
Fabric of the first bag also folded twice on the other short side and with a seam on the second short side.

Fold the fabric at the top edge along the narrow colored marking.
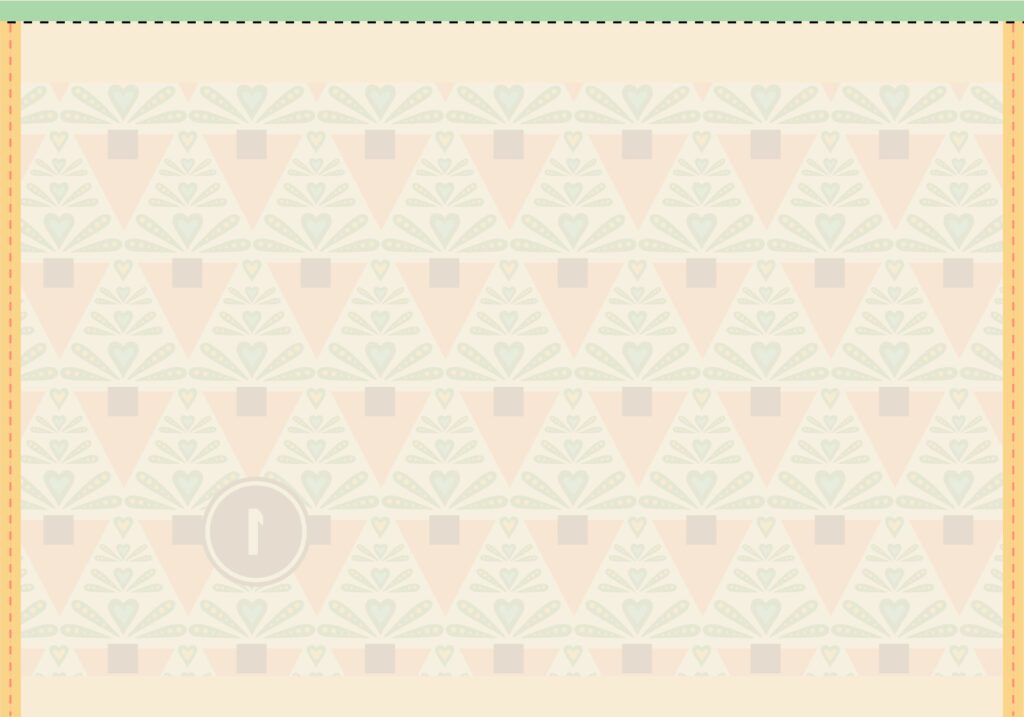
First bag folded once on the long upper side

Fold the fabric along the next marking.

First bag folded twice on the long upper side

Sew along the bottom edge to create a tunnel.
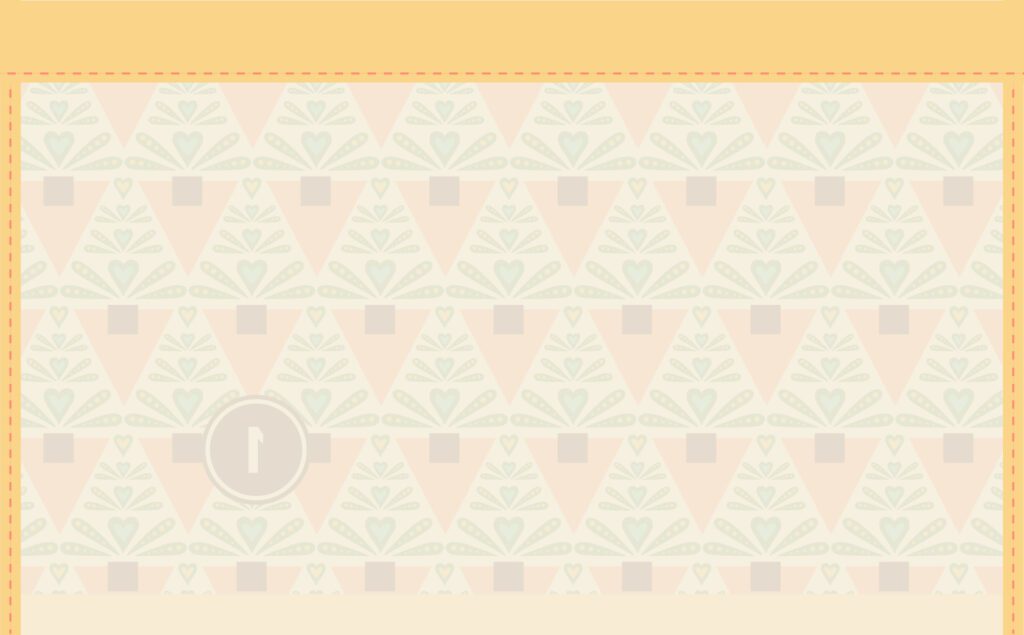
First bag folded twice on the long upper side and fixed with a seam

Fold the fabric piece in half, right sides together.

Fabric folded vertically once along the middle

Sew the fabric piece into a bag.

Start at the top right below the tunnel.

The tunnel must remain open!
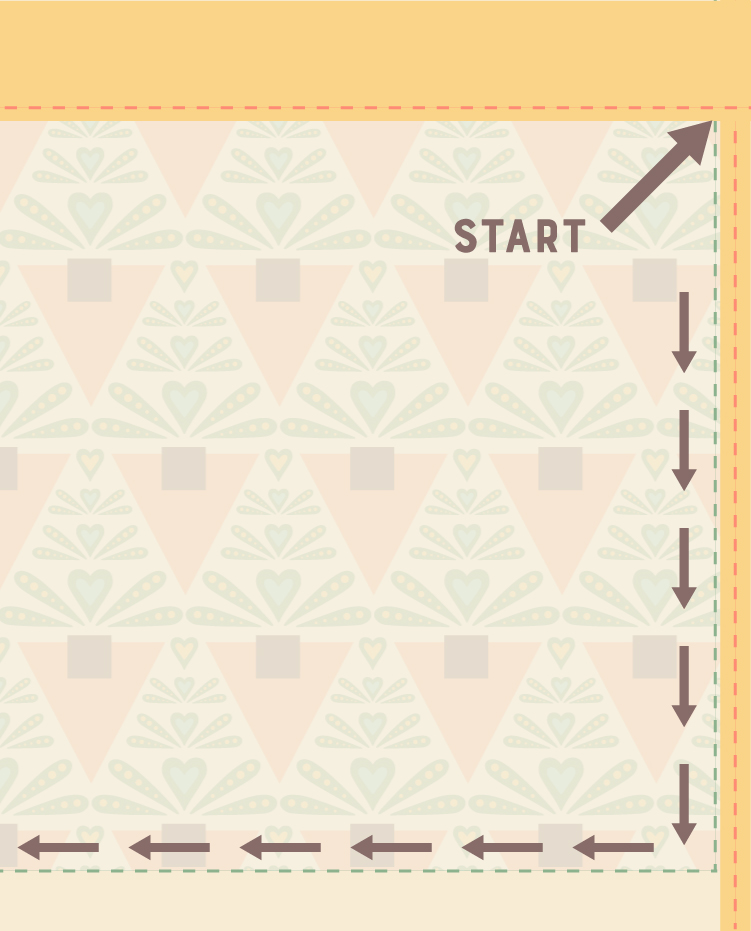
The folded first fabric with marks where to begin and to end with the seam

Trim the bottom corners slightly.

Fabric bag with trimmed edges.

Turn the bag right side out.

Use a chopstick to shape the corners.

Cut a piece of satin ribbon about 30 cm (about 12 inches) long and thread it through the tunnel at the top of the bag using a safety pin.

Tie the ends of the satin ribbon together.

Repeat all steps for the remaining 23 Advent calendar bags;))

Fabric panel for the little "Merry Christmas" banner

Sewing Instruction “Merry Christmas” banner

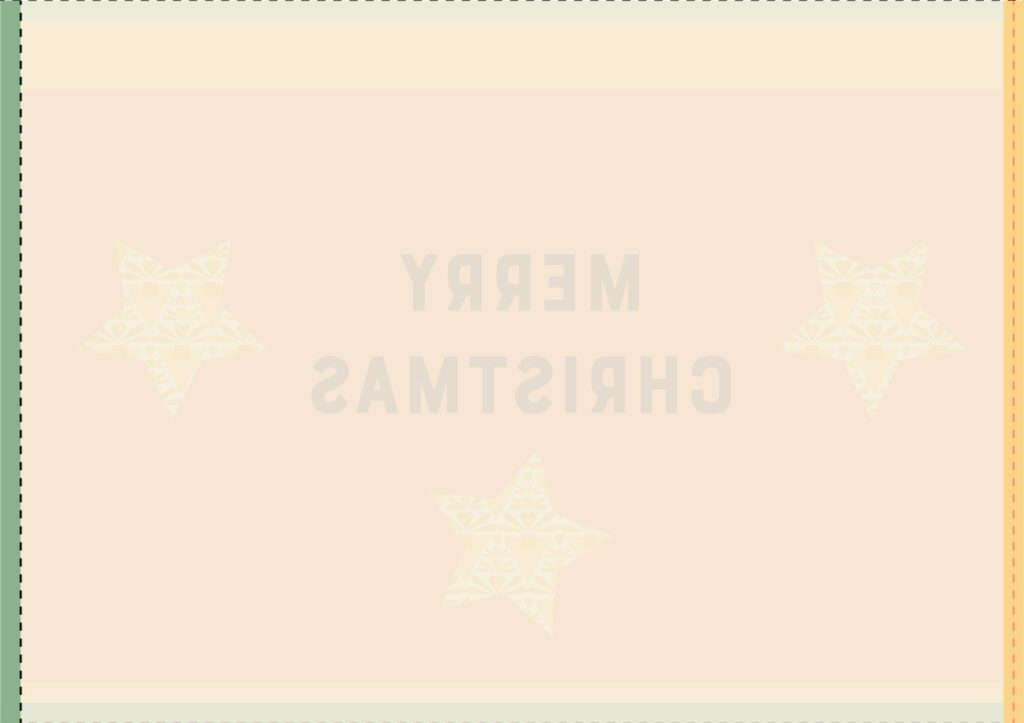
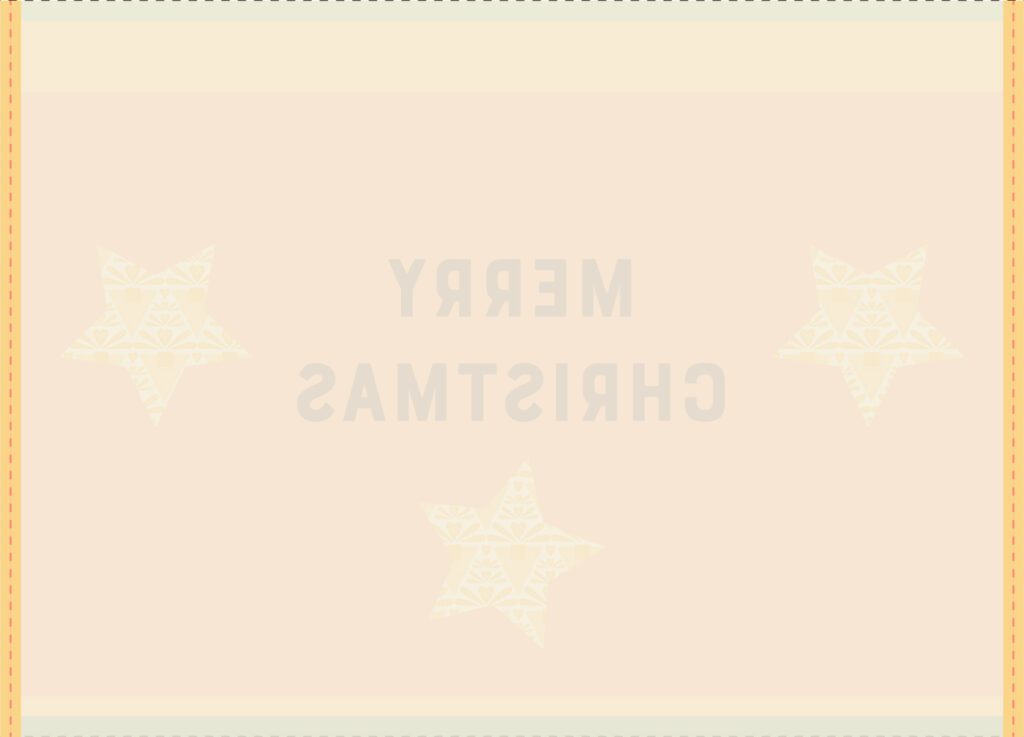
Fold the short sides of the banner twice along the narrow marking strips and sew them down.
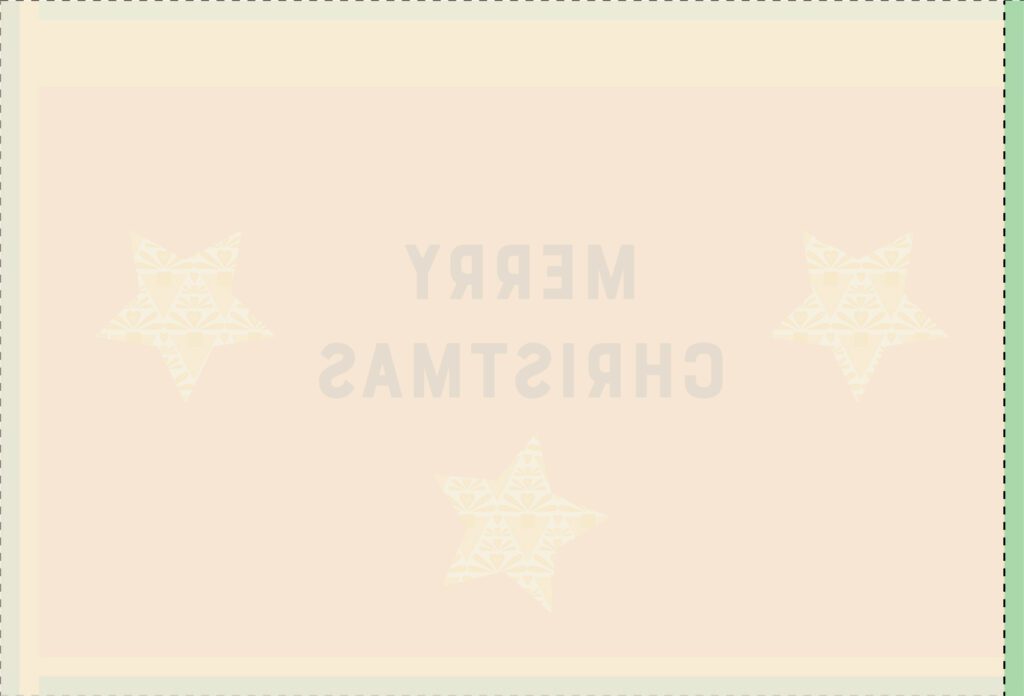
Fabric panel for the little "Merry Christmas" banner folded once on a short side
Fabric panel for the little "Merry Christmas" banner folded twice on a short side
Fabric panel for the little "Merry Christmas" banner folded once on a short side and fixed with a seam
Fabric panel for the little "Merry Christmas" banner folded once on a short side and fixed with a seam and folded once on the other short side
Fabric panel for the little "Merry Christmas" banner folded once on a short side and fixed with a seam and folded twice on the other short side
Fabric panel for the little "Merry Christmas" banner folded once on a short side and fixed with a seam and folded once on the other short side and fixed with a seam

Repeat this process for the bottom side of the banner.

Fabric panel for the little "Merry Christmas" banner folded once on one long side
Fabric panel for the little "Merry Christmas" banner folded twice on one long side
Fabric panel for the little "Merry Christmas" banner folded twice on one long side and fixed with a seam

For the top side of the banner, fold the fabric first along the narrow marking and then along the wider marking.

Sew it down to create a tunnel.

Fabric panel for the little "Merry Christmas" banner folded once on the second long side
Fabric panel for the little "Merry Christmas" banner folded twice on the second long side
Fabric panel for the little "Merry Christmas" banner folded twice on the second long side and fixed with a seam

DONE!!!

Finished little "Merry Christmas" banner right side up

Well, now I am curious.

Have you ever sewn your own fabric bag Advent calendar?

If so, did you use a pre-printed fabric panel?
Or did you measure each bag individually, look for fabrics that make a nice combination, etc.?
Got questions?

Drop me a line stefanie@happy-wolf-of-fortune.com !

I can’t wait to hear from you!

Love this content?

Save this blog post to Pinterest now to keep it handy!

And now I am curious!

What do you think?

Share it in the comments below!

Preview for the cut-and-sew Advent calendar showing a sewn little fabric bag in bold green with little gifts and a happy fun Christmas cat on it.

0 Comments

Submit a Comment

Your email address will not be published. Required fields are marked *

Find more inspiration

Cookie Consent with Real Cookie Banner