Struggling to fill tiny parts of your stuffed animals?
We’ve all been there—those small arms, legs, or tails can be tricky to stuff just right!
In this article, I’ll share a simple yet genius stuffing trick to help you evenly and easily fill those narrow or delicate parts of your handmade plushies.
Whether you’re a beginner or an experienced maker, this tip will make your stuffed animal projects easier.
Say goodbye to frustration and hello to filling with ease!
What you need to fill the small parts of stuffed animals
- Filling cotton, e.g., from a pillow
- Cardboard tube you already have from turning the small parts
- Chopstick
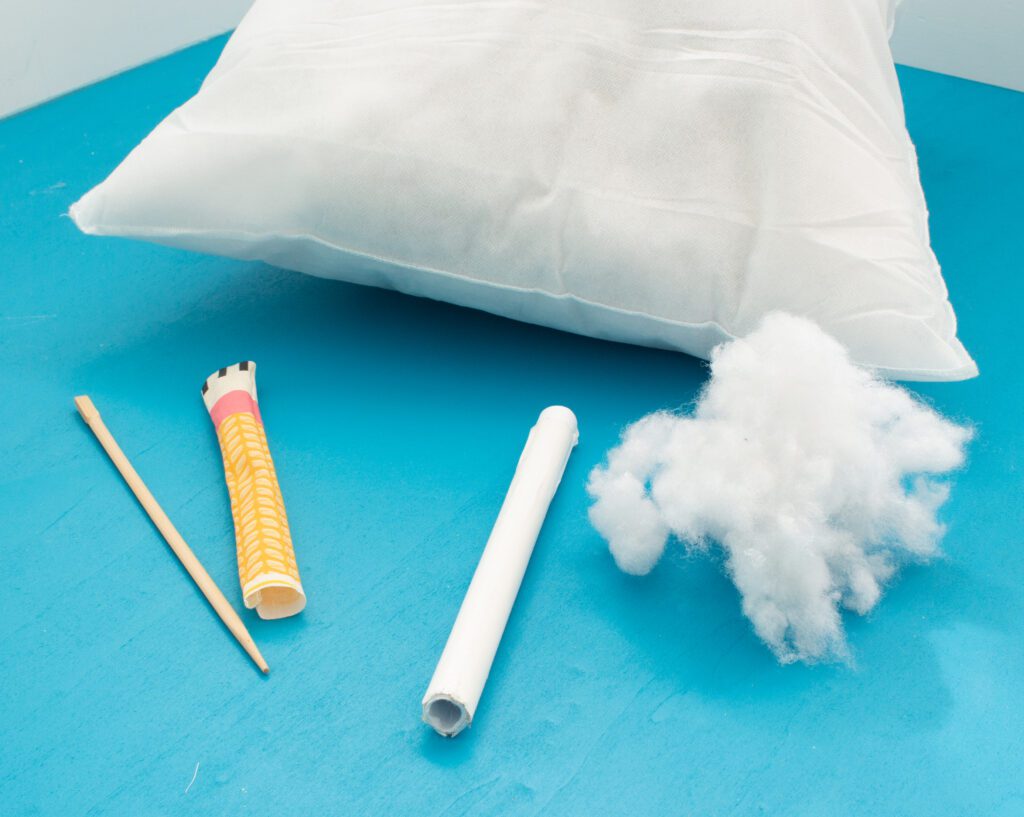
Preparation for filling small parts of stuffed animals
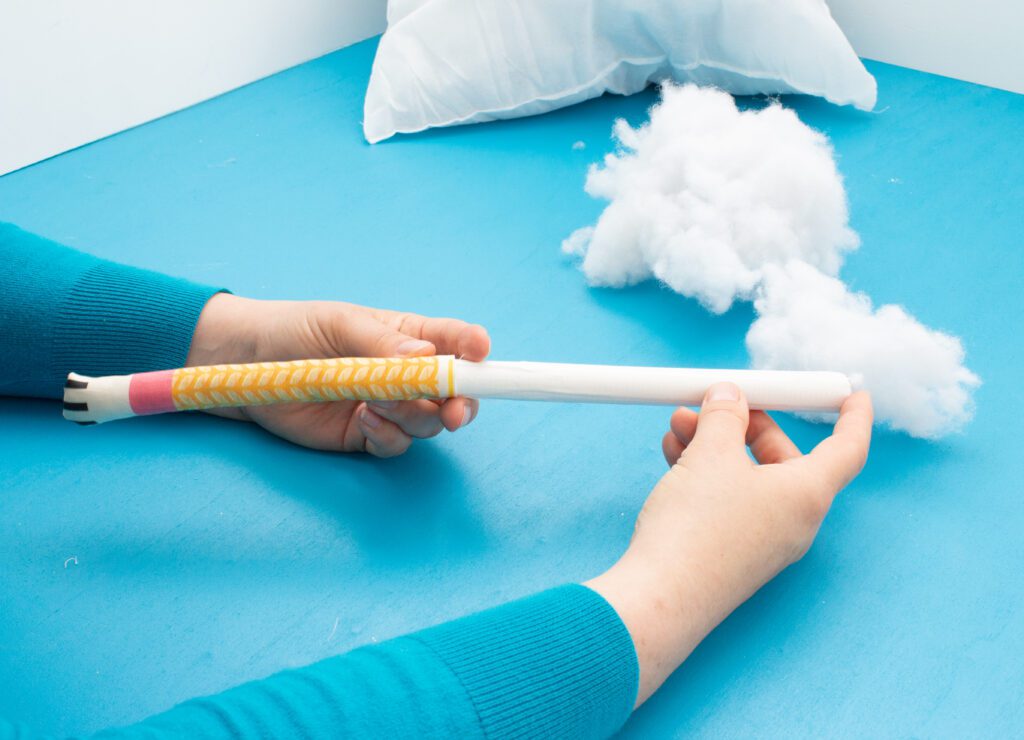
Take the paper tube that you made for turning the stuffed animal small parts.
Insert the paper tube into one of the small parts, such as the arm of your stuffed animal.
Hold the fabric and the tube with one hand at the top end.
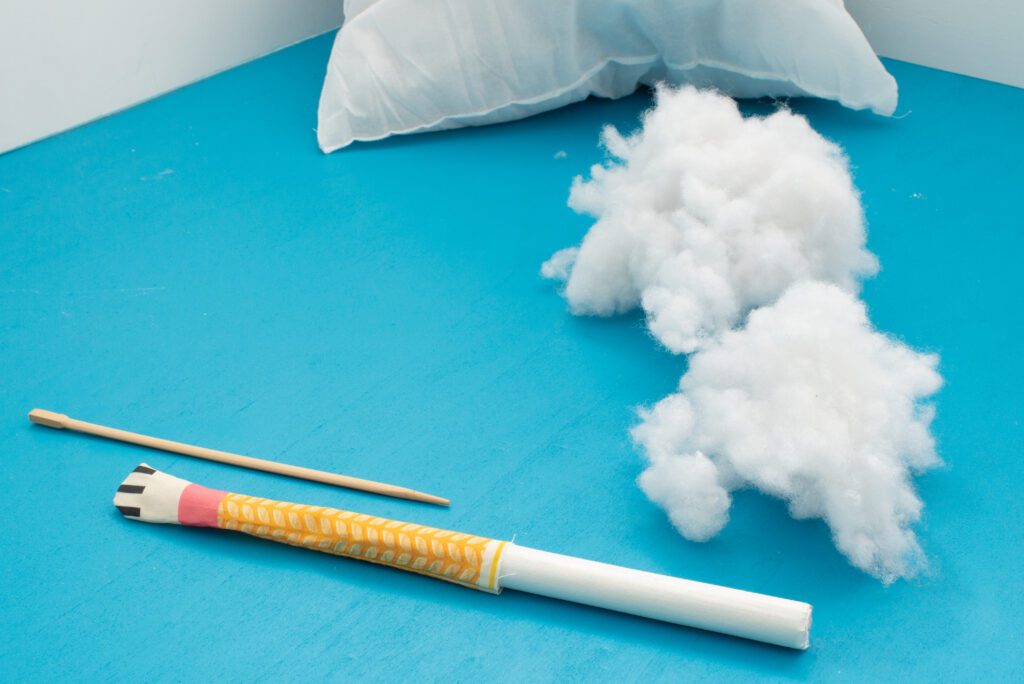
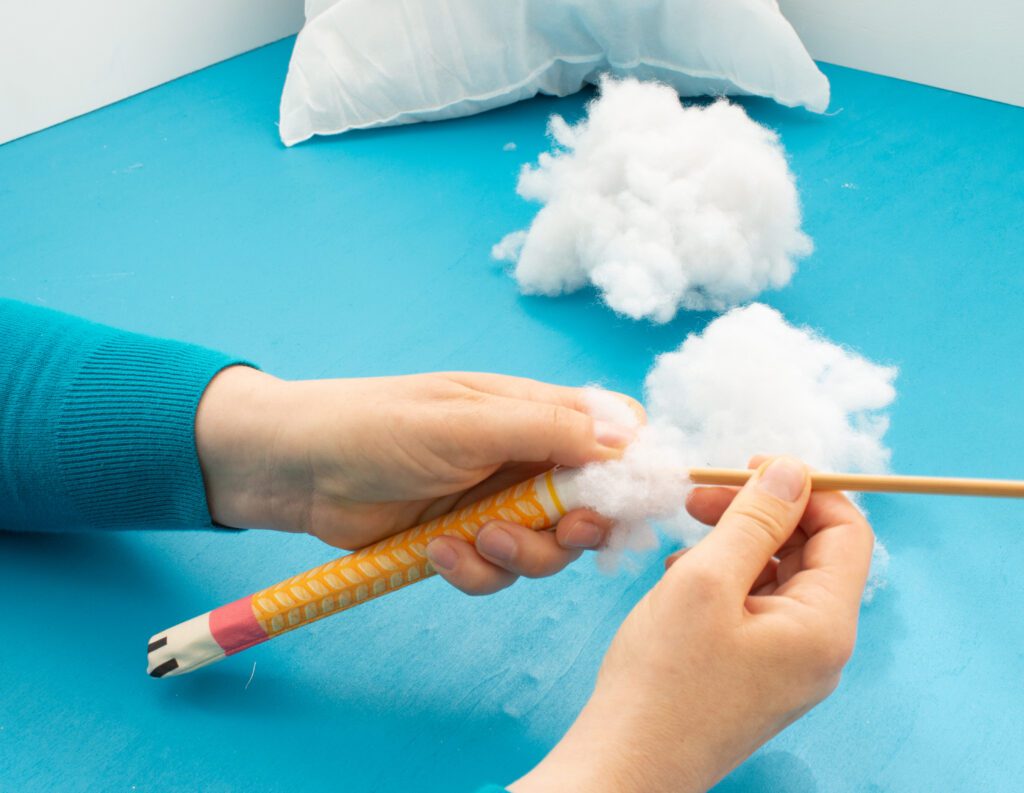
Stuff filling cotton into the stuffed animal small parts
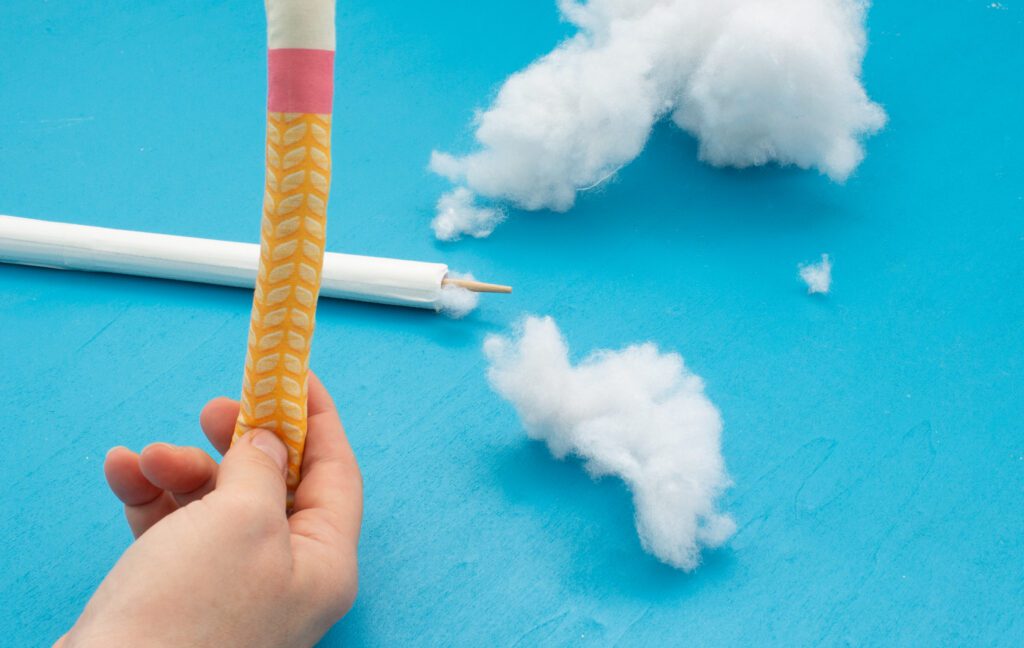
Now, with the other hand, stuff filling cotton into the tube and press with the wooden spoon.
At first, you may need to experiment a bit until you get the hang of the trick for the best way to stuff 😉
But after that, it proceeds quite swiftly 😉
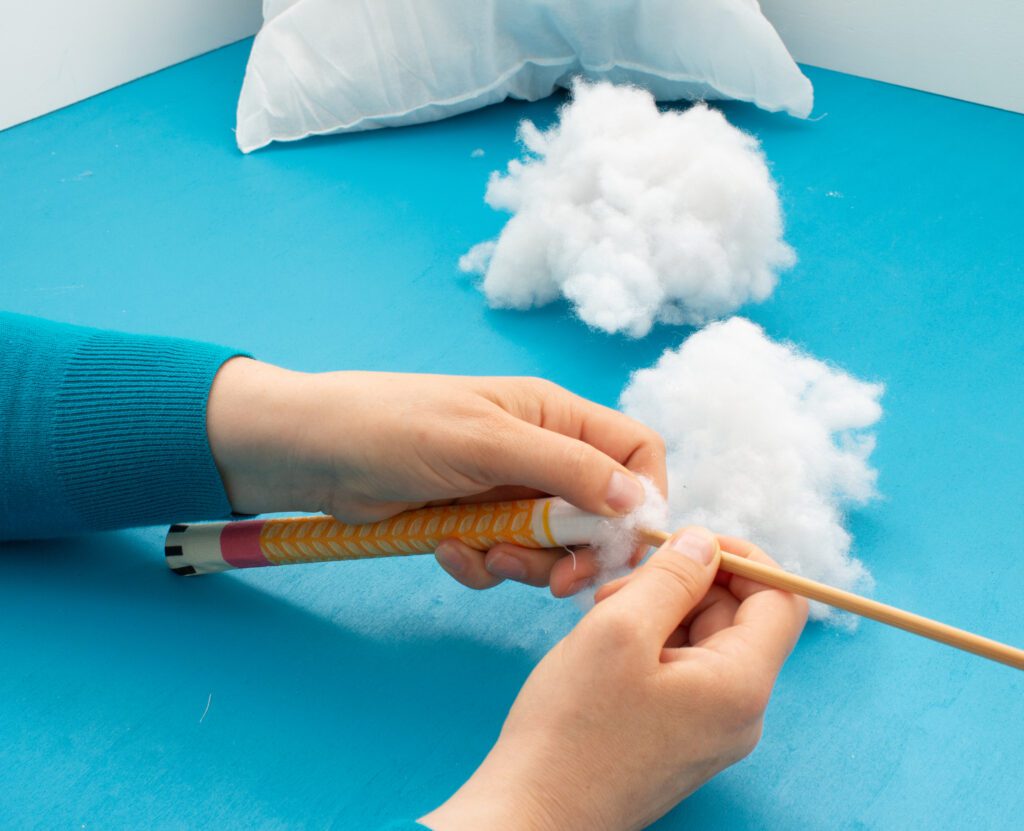
Once the paw of the cat is stuffed, pull the tube out slightly and work towards the upper end of the arm your way step-by-step .

Experiment with the desired firmness or softness of the arm, adjusting the amount of filling cotton accordingly.
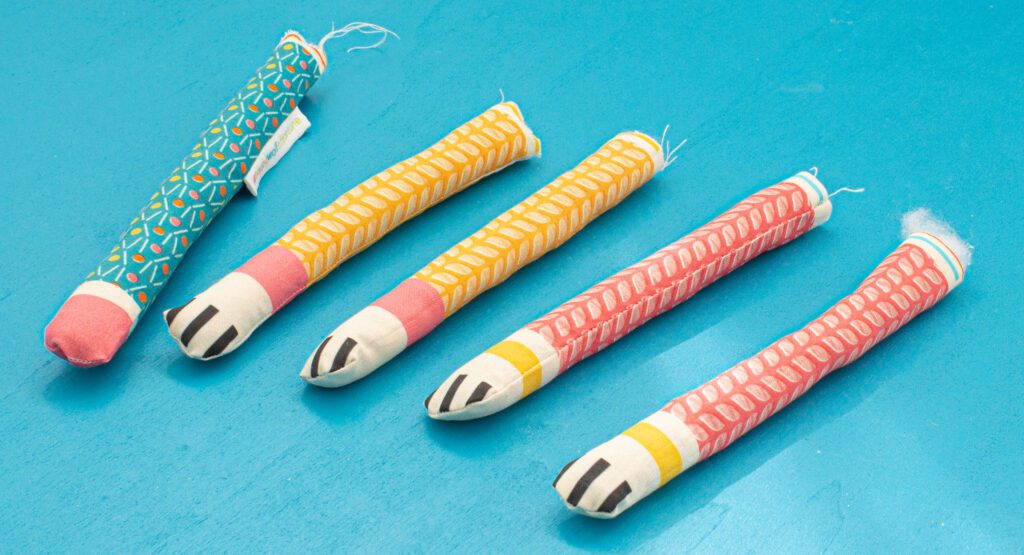
DONE!
Now, fill all the small parts of your stuffed animal like arms, legs, … with filling cotton.


0 Comments