Looking for the purr-fect companion?
Whether you need a cuddly buddy to brighten your gloomy days, a reliable friend for daycare adventures, or a vibrant partner to join in festive celebrations, the Crazy Cat Companion has got you covered!
This extravagant, quirky cat is more than just a plush toy – it’s a lovable, one-of-a-kind friend for all occasions.
Sew it yourself from my cut-and-sew fabric panels and create a loyal companion that’s guaranteed to bring joy!
Whether it’s for a child, a cat lover, or a collector of unique stuffed animals, this DIY Crazy Cat will steal hearts and spark smiles.
Please note:
I have sewn the “Crazy Cat Companion” many times.
To continuously improve the sewing pattern, I’ve made some changes.
In the newer patterns, the seam allowance is no longer solid-colored; the pattern extends to the edge.
This change prevents visible solid pieces when turning the cat, but it also makes the markings for attaching the tail, arms, and legs harder to see.
Additionally, the newer cats no longer have labels with sayings.
So your cut-and-sew panel has probably a different look than the one in the tutorial.
What you need to make a “Crazy Cat Companion”:
Essentials:
- Fabric panel “Cut & Sew: Crazy Cat Companion”
- Sewing needle
- Pins
- Thread
- Scissors
- Stuffing, for example, from a 40 x 40 cm pillow
These things will make life much easier:
- Sewing machine
- 2 sheets of A4 or US letter paper
- Adhesive tape
- Wooden spoon
- Chopsticks
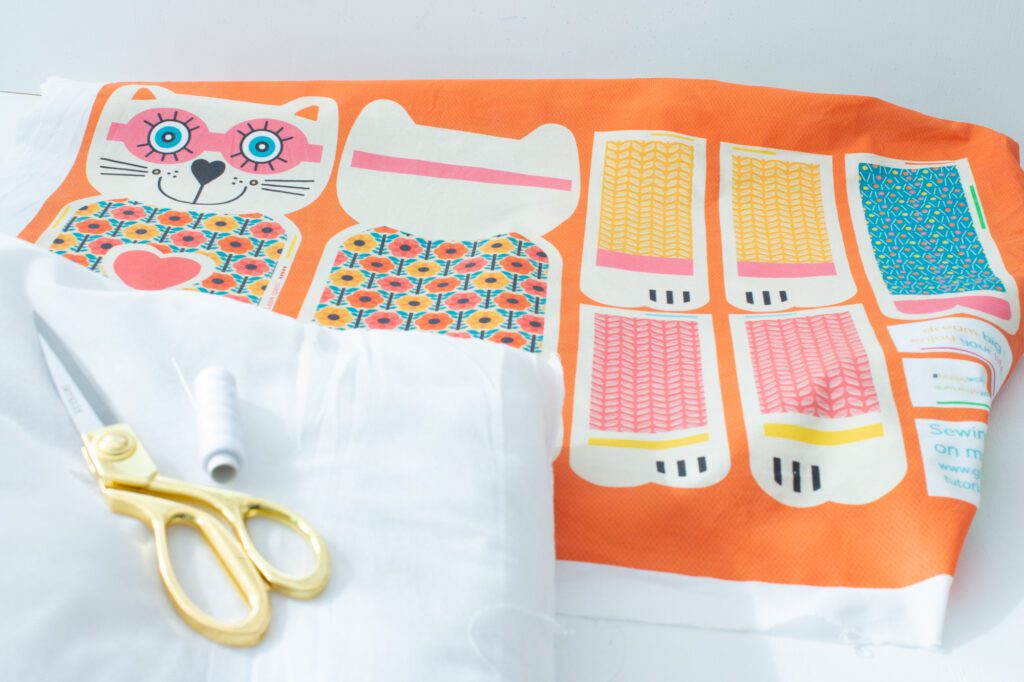
How to make your “Crazy Cat companion”
Washing
Wash the fabric according to the instructions.
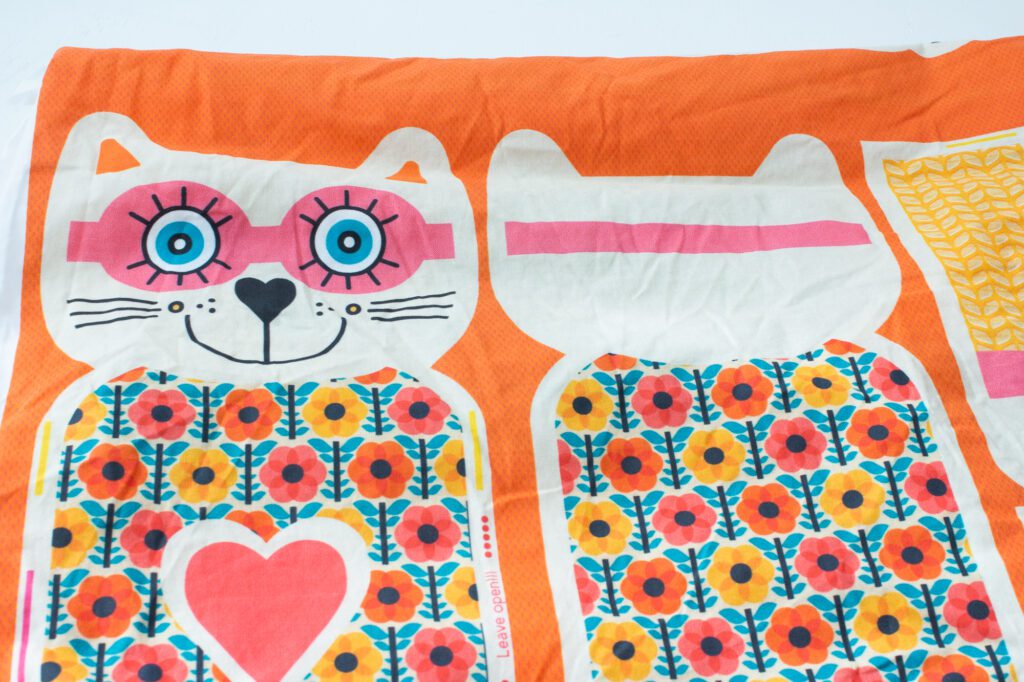
Ironing
Iron the fabric according to the instructions.
Embroidery
If you want to embroider the facial features with the sewing machine or by hand, now is the right time. Be sure to place a (water-soluble) stabilizer underneath for embroidery and stretch the fabric into a frame.
Iron the fabric again if necessary.
Cutting
Cut out all the pieces.
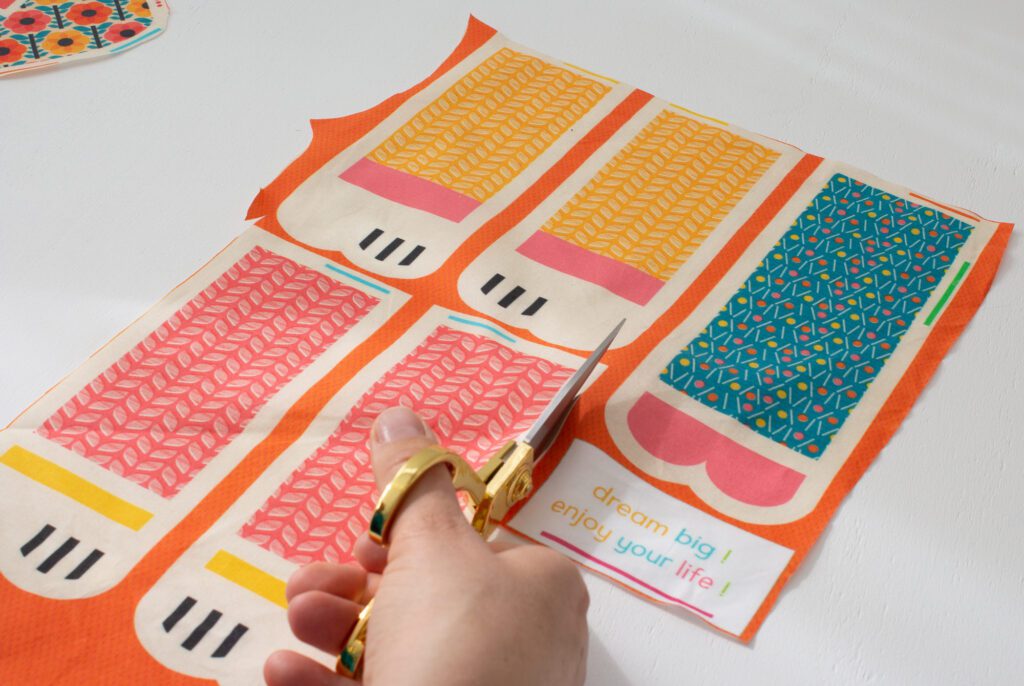
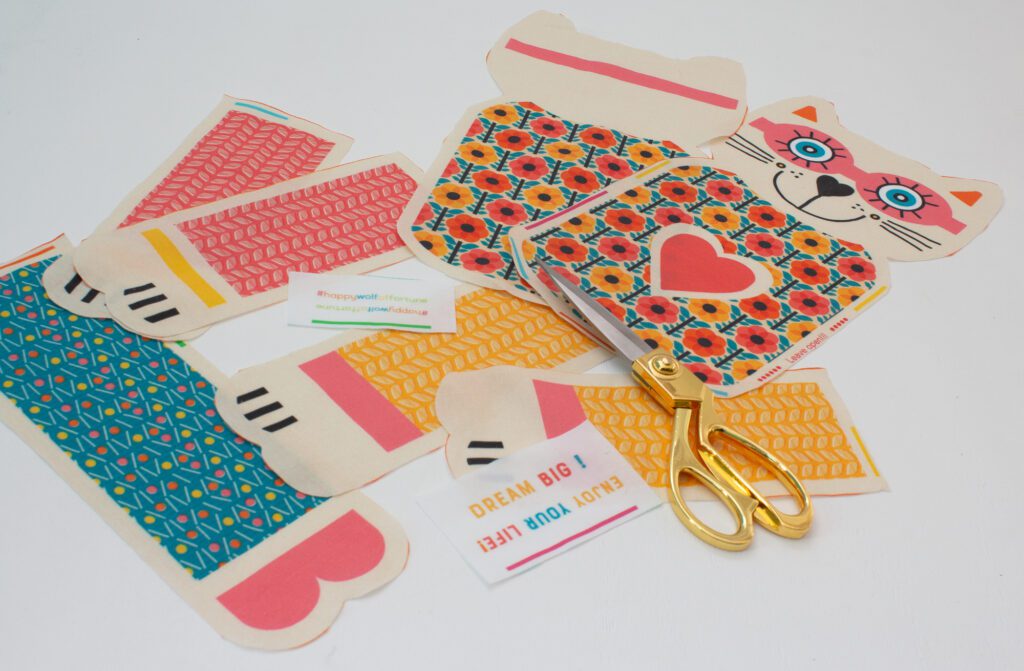
Sewing the small parts together: Legs, arms, tail
Now sew the tail together along the long side and the short side at the tip of the tail (curved part).
For the arms and legs, place the long sides right sides together.
Also sew the long sides and the short side with the paws (curved part) together.
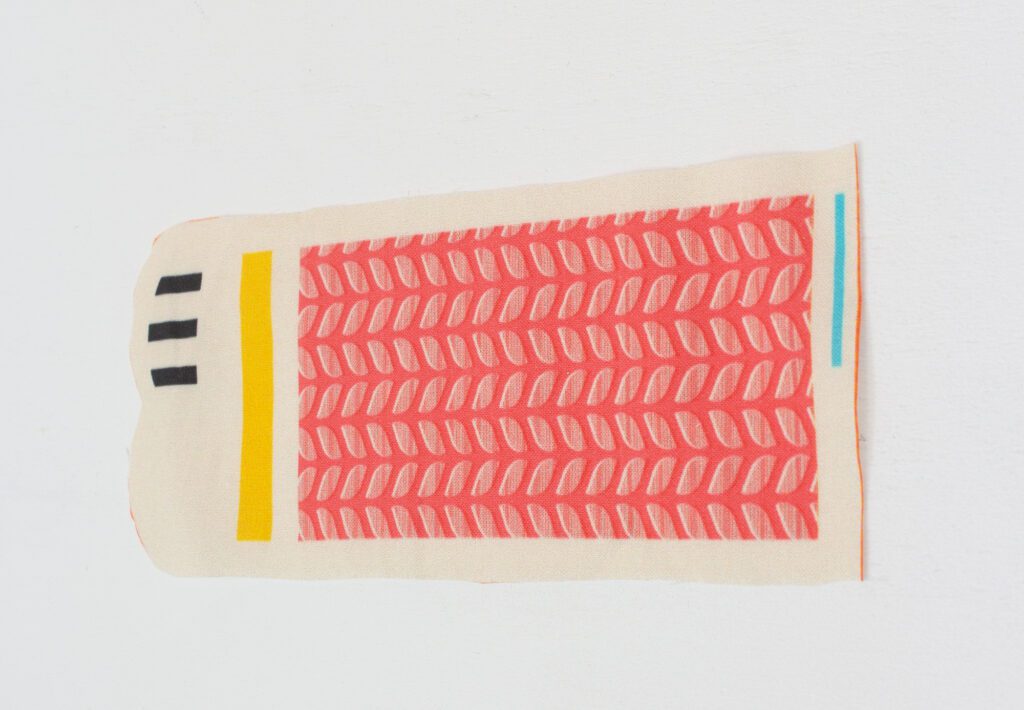


Trim seam allowances
Now trim the seam allowances down to a few millimeters.
Work slowly and carefully, and don’t get too close to the stitches!
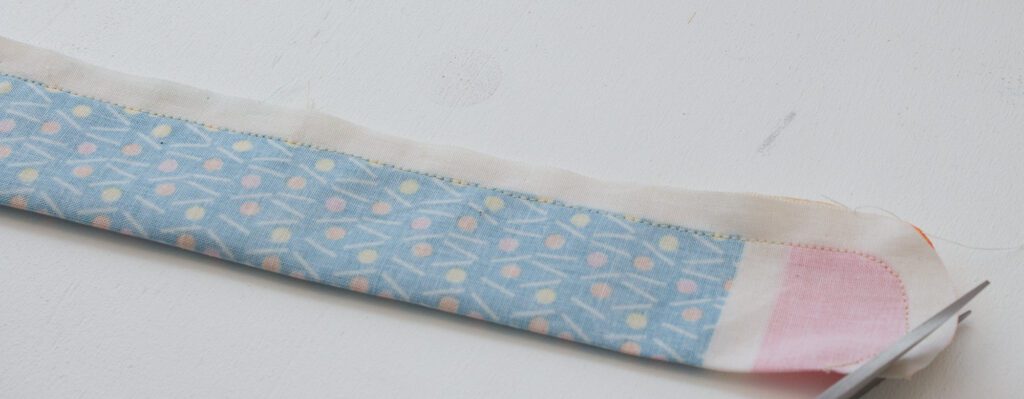
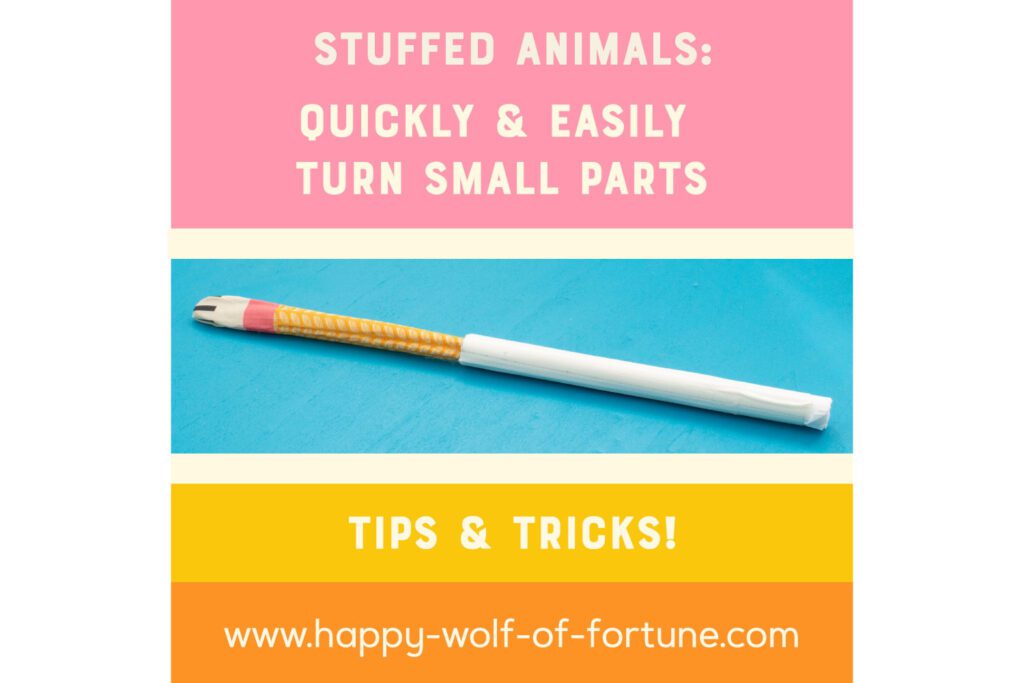
Turning the small parts
Have you been wondering the whole time how you are supposed to turn the small individual parts?
Then let me share a wonderful trick with you, one that even my 2.5-year-old can manage easily again and again!
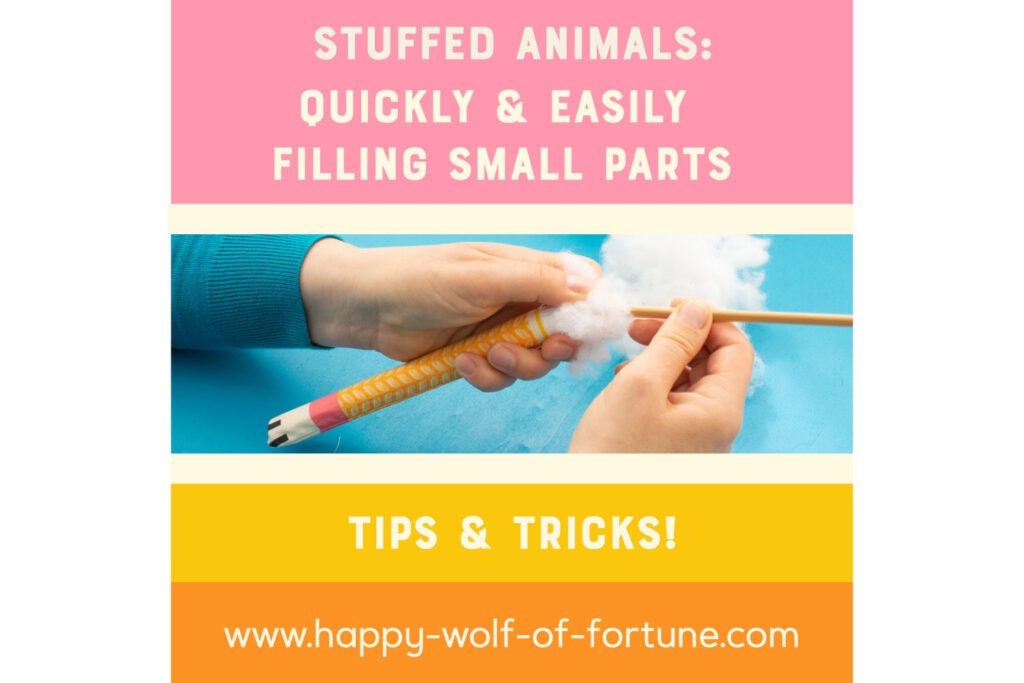
Filling small parts of stuffed animals with stuffing made easy
You don’t need to be afraid of filling the small parts either.
It takes a little time and requires some patience, but with this trick for filling small parts of stuffed animals, it’s very easy.
Repeat all the steps for the other little parts: legs, arms, tail.
Sewing: Assemble the body and small parts of the cat together
Lay the front side of the cat with the face up in front of you.
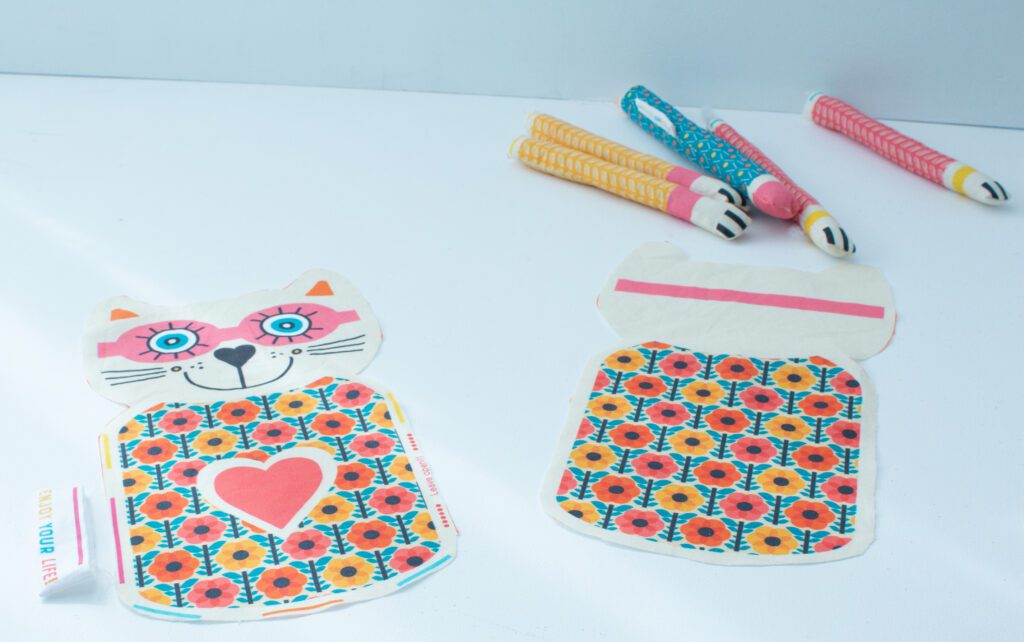
Now place the first arm on the marked spot to the left.
Secure the arm with a seam close to the edge within the seam allowance.
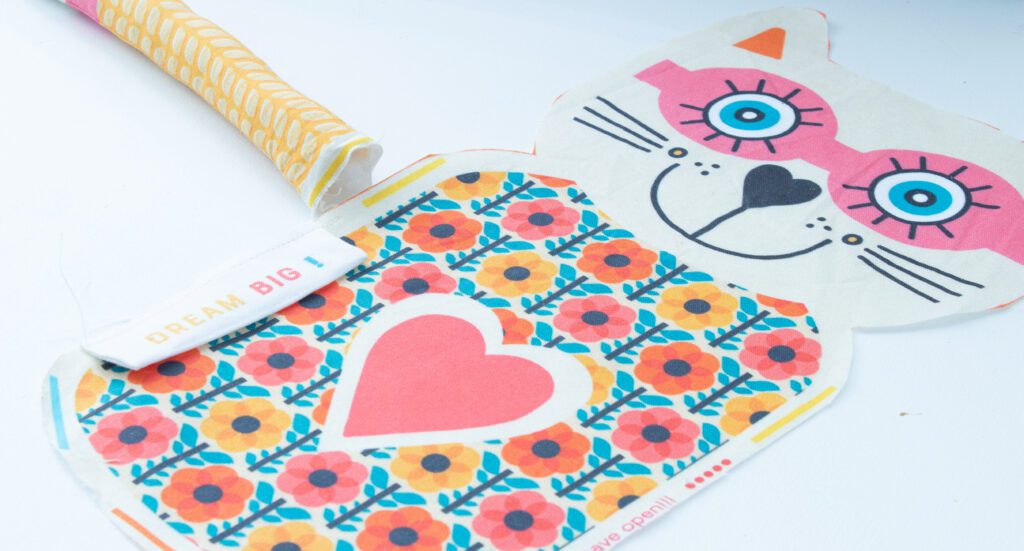
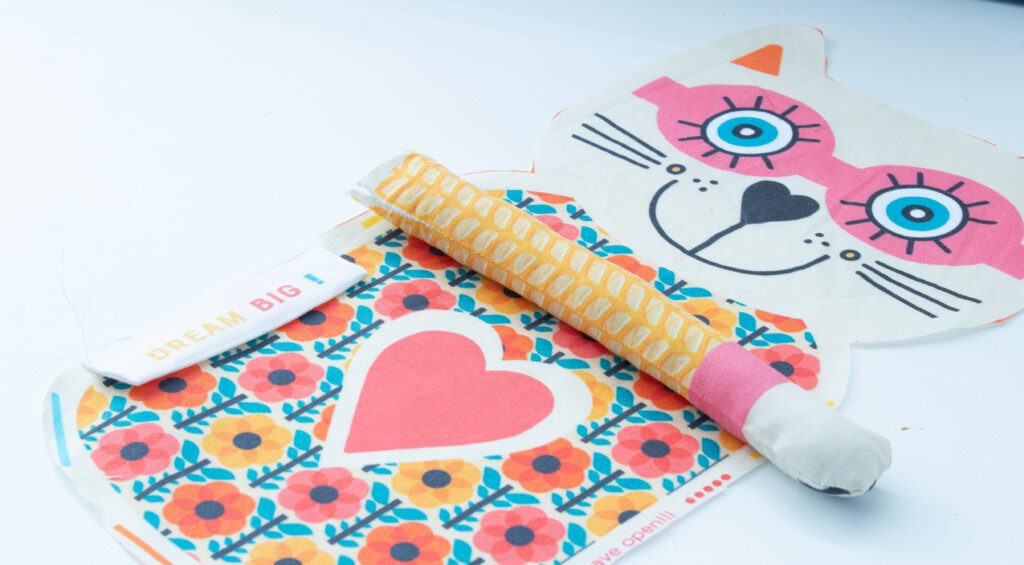
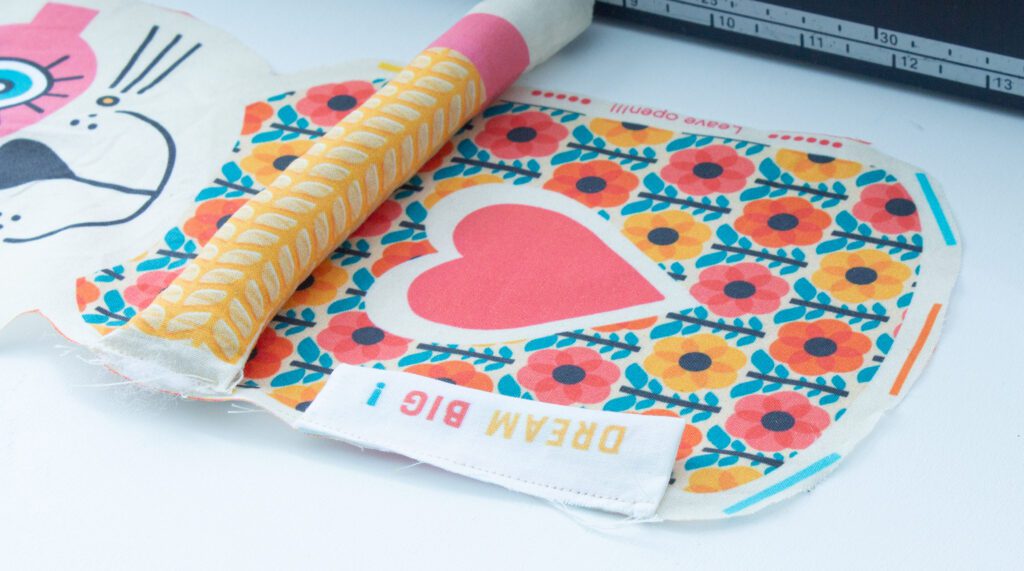
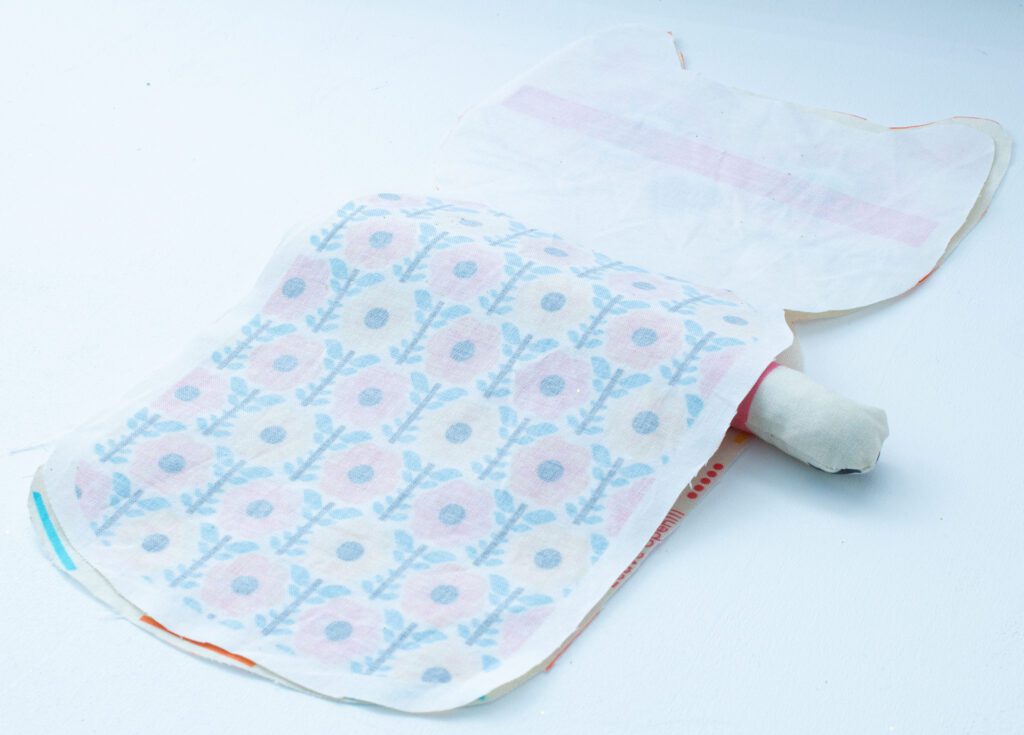
Place the back of the cat body with the printed side facing down on the front of the cat.
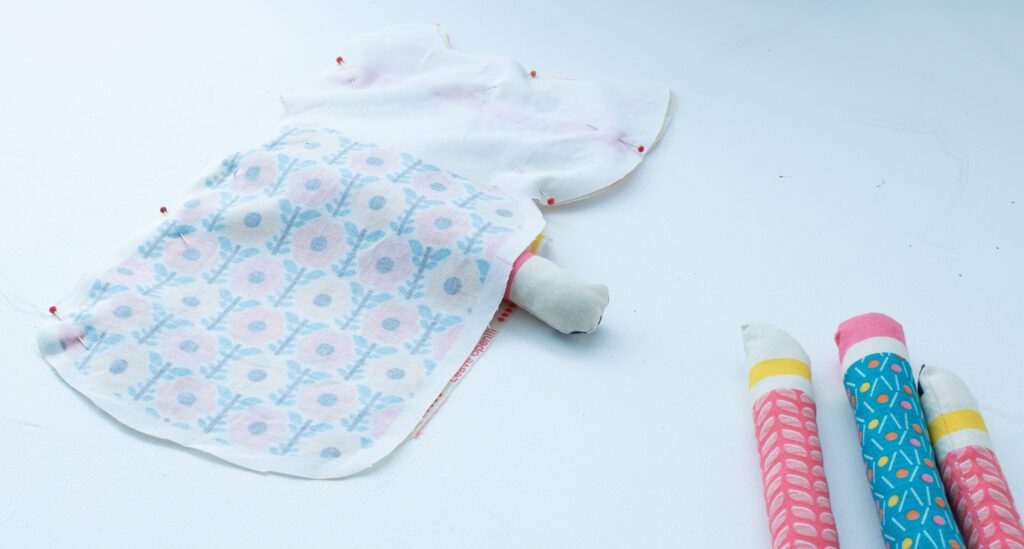
Start pinning the front and back of the cat together carefully from slightly below the arm on the left side.
The stuffed arm of the cat should be positioned towards the right, disappearing into the inside of the cat.
Pin the cat together up to the marking for the second arm.
Now sew the two pieces together along the pinned line.

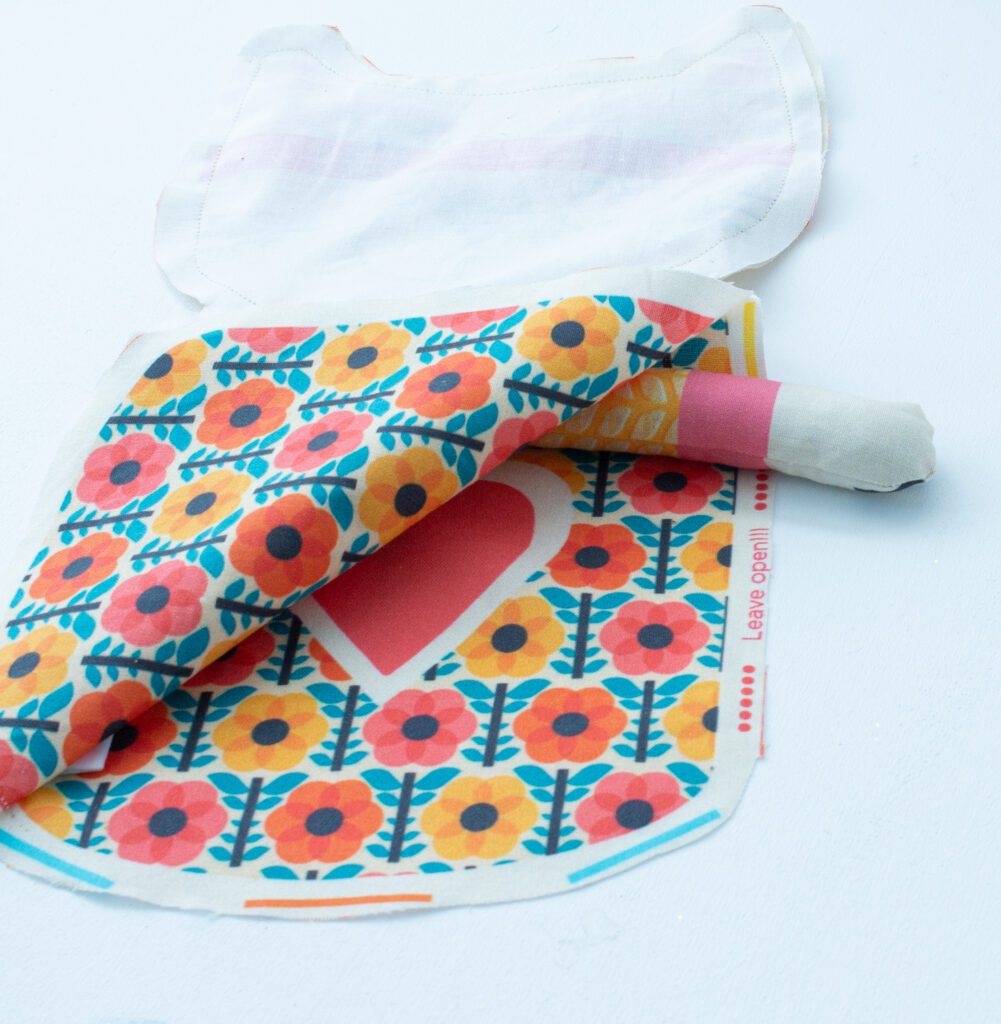
Now, open the cat a bit.
Next, place the first leg, tail, and second leg one after the other at the marked spots on the front part of the cat body.
The legs and the tail should each be positioned upwards, towards the face of the cat.
Secure the individual parts one after the other with a seam within the seam allowance on the front part of the cat.
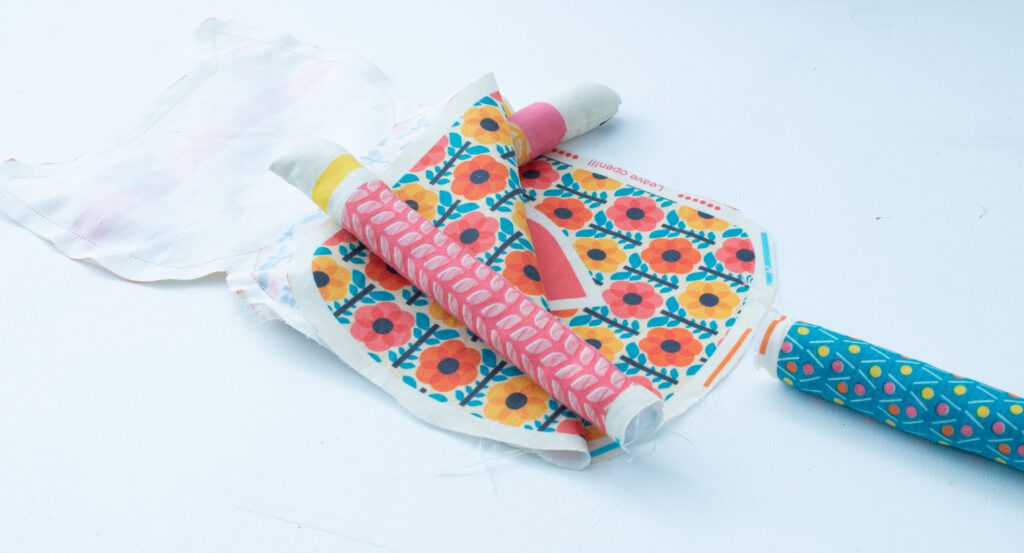
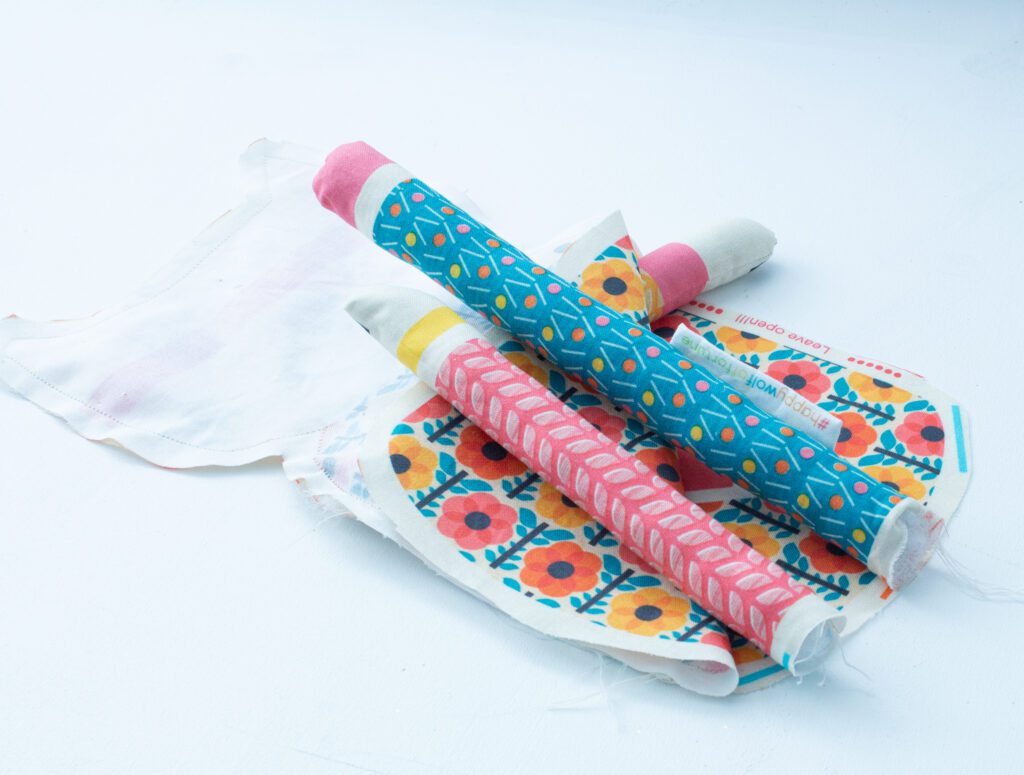
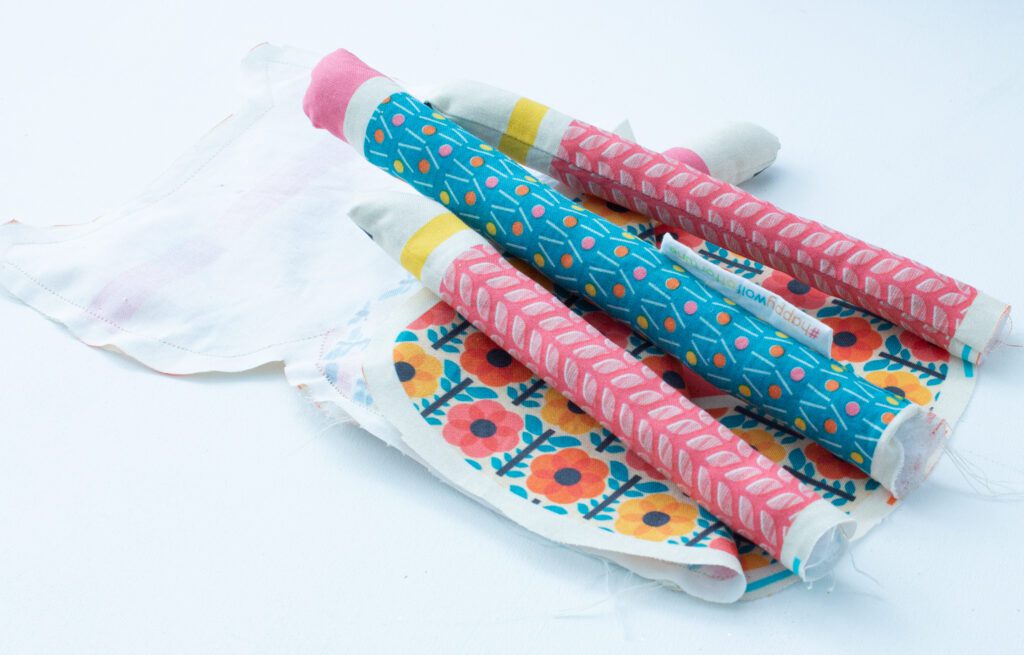
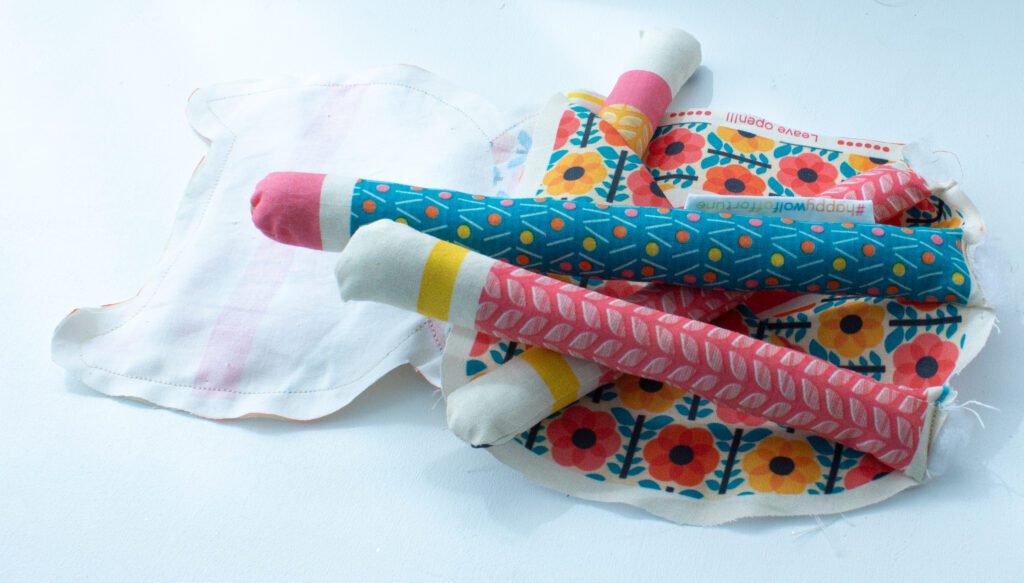
Fold the back of the cat over the legs, the tail, and the first arm.
Now, pin the edges of the label together until you reach the point marked with “leave open”.
Sew the front and back of the cat together along this line.
But be sure to stop in time so that the turning opening is not sewn shut!
Stop before the marking for the second arm!
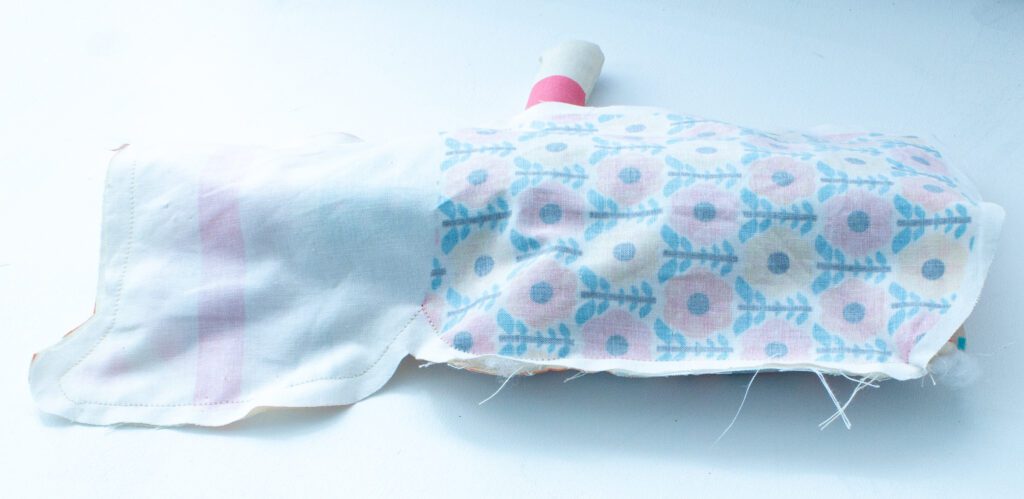
Now, insert the second arm into the cat and secure it at the marked spot with a seam.

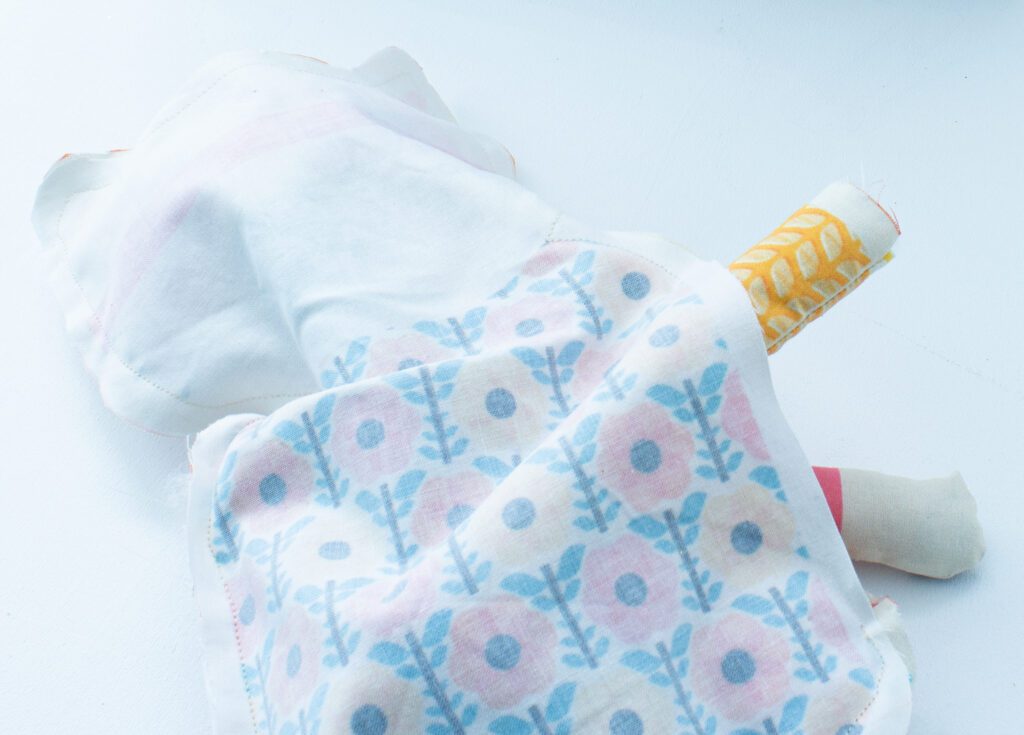
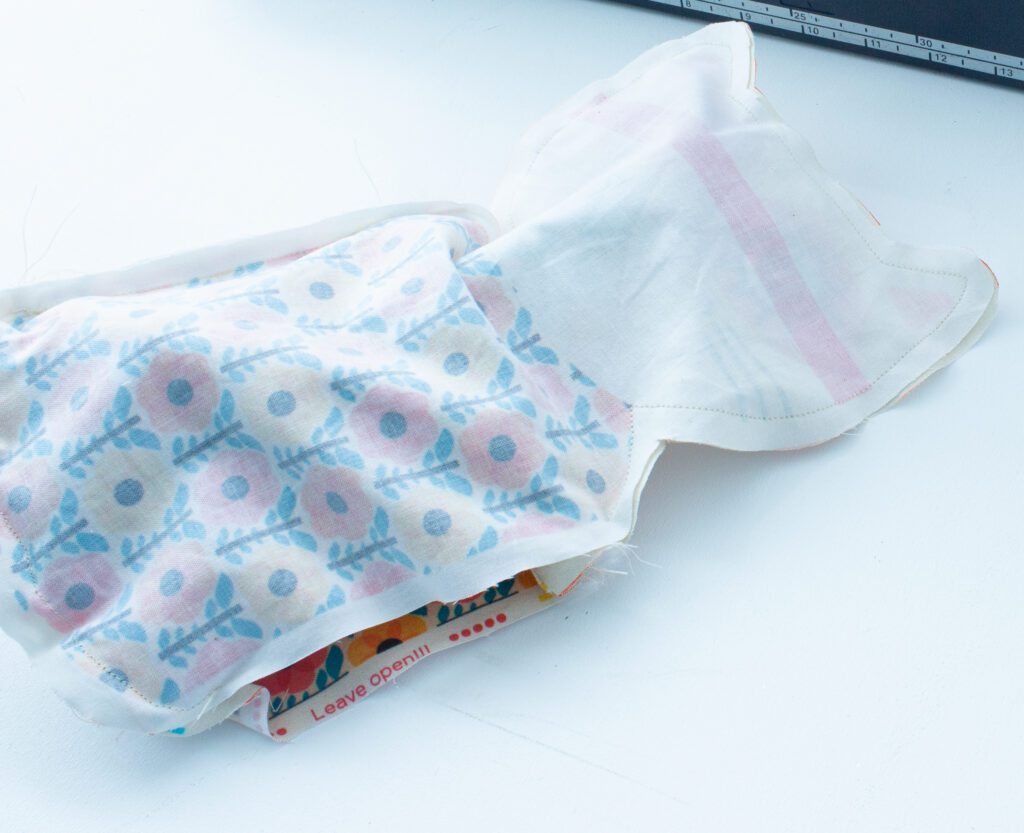
Now, reattach the front and back parts of the cat and sew the final section of the cat up to the beginning of the turnaround opening.
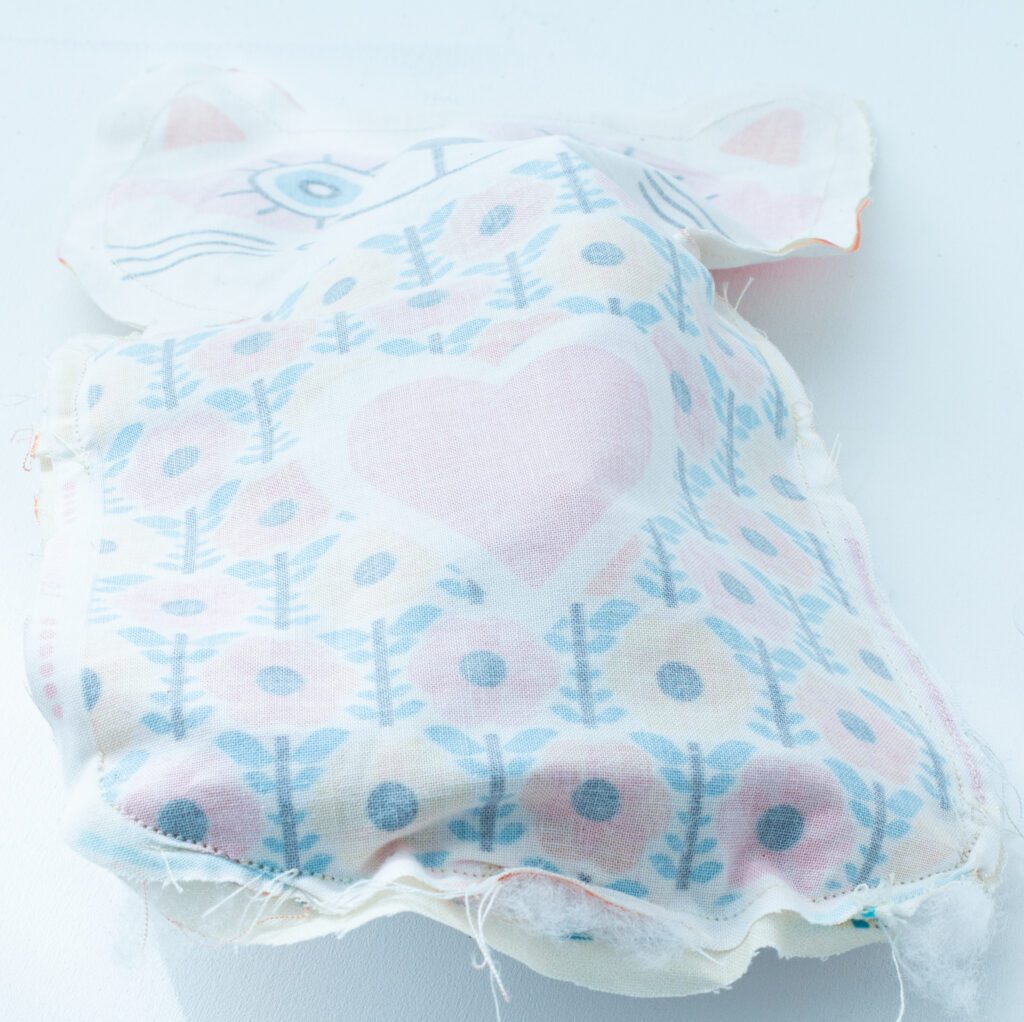
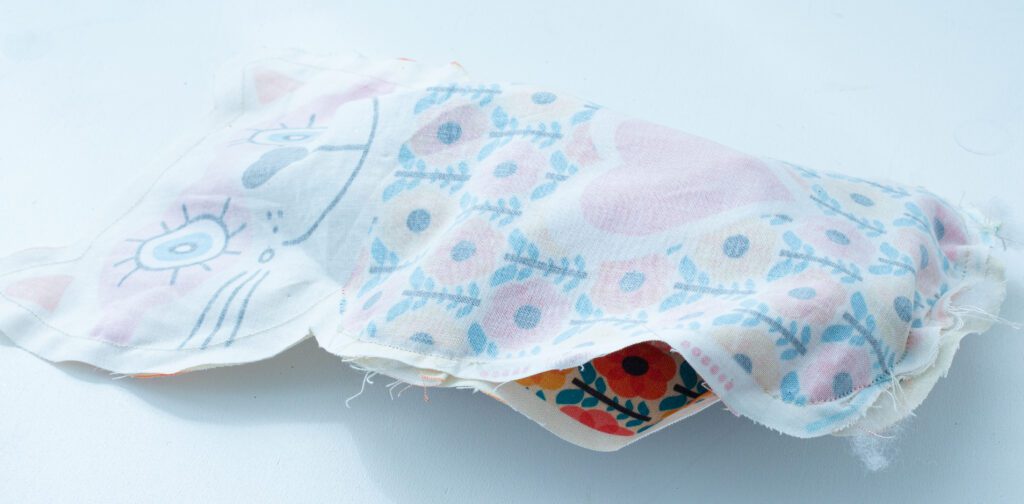
Trim seam allowance
Now, take a small pair of scissors, such as nail scissors, and CAREFULLY trim the seam allowances.
Leave the seam allowance at the turning opening as it is and do not trim anything!
Make sure not to cut too close to the seam!!!
Carefully snip the remaining seam allowance at the corners diagonally across the seam – but not too close to the seam.
Turn around cat body
Hurray, now the time has come!
You will soon see your cat for the first time!
Carefully reach into the turnaround opening and start pulling out the arms, legs, and tail through the turnaround opening, flipping the cat completely.
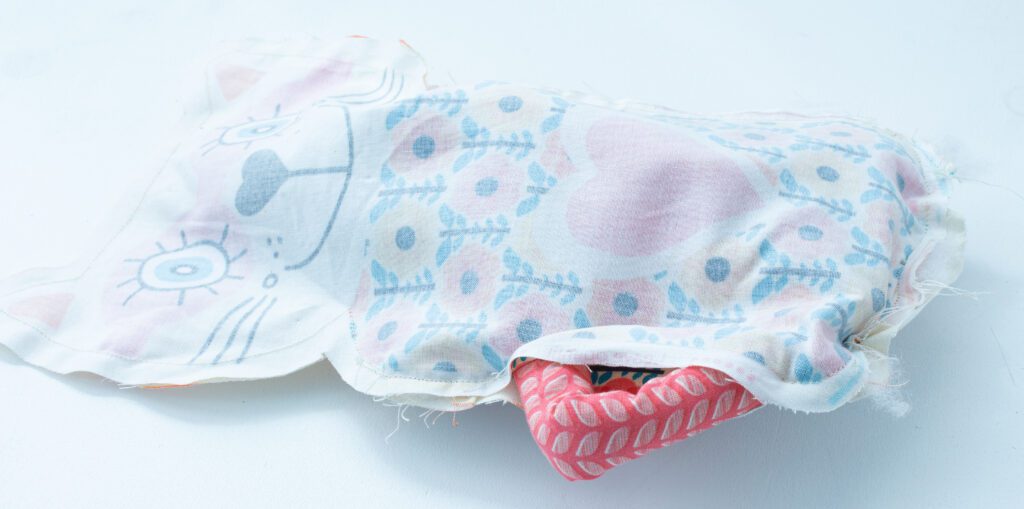
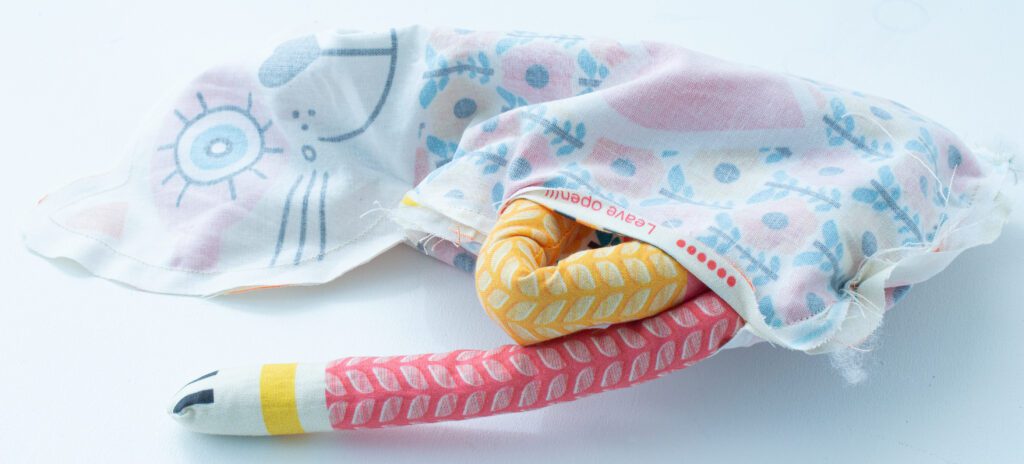
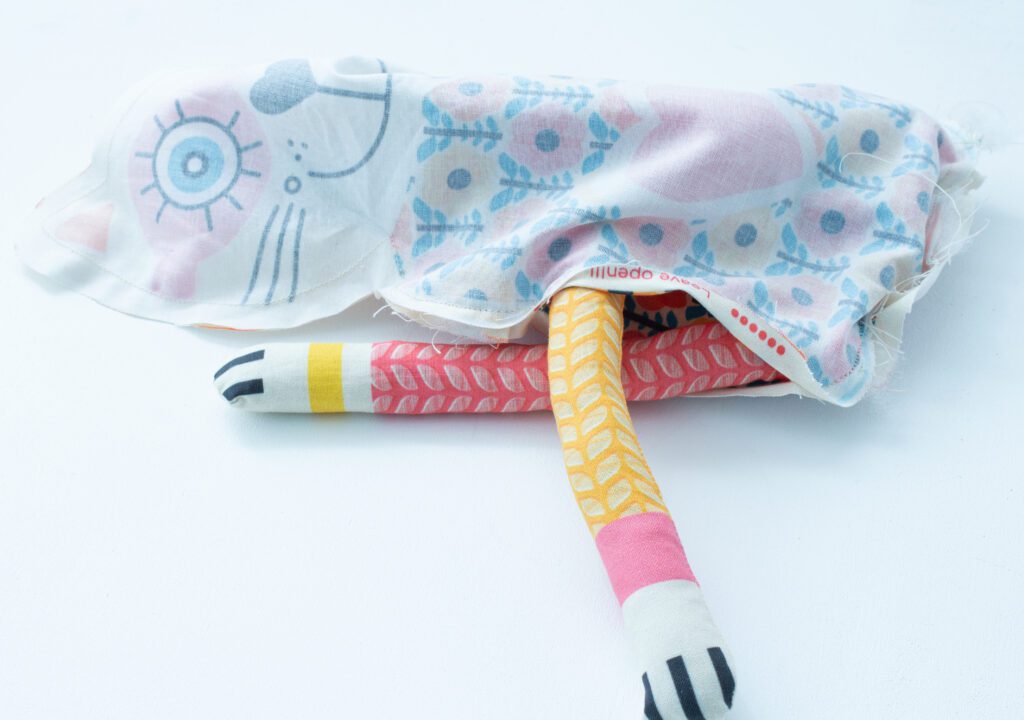
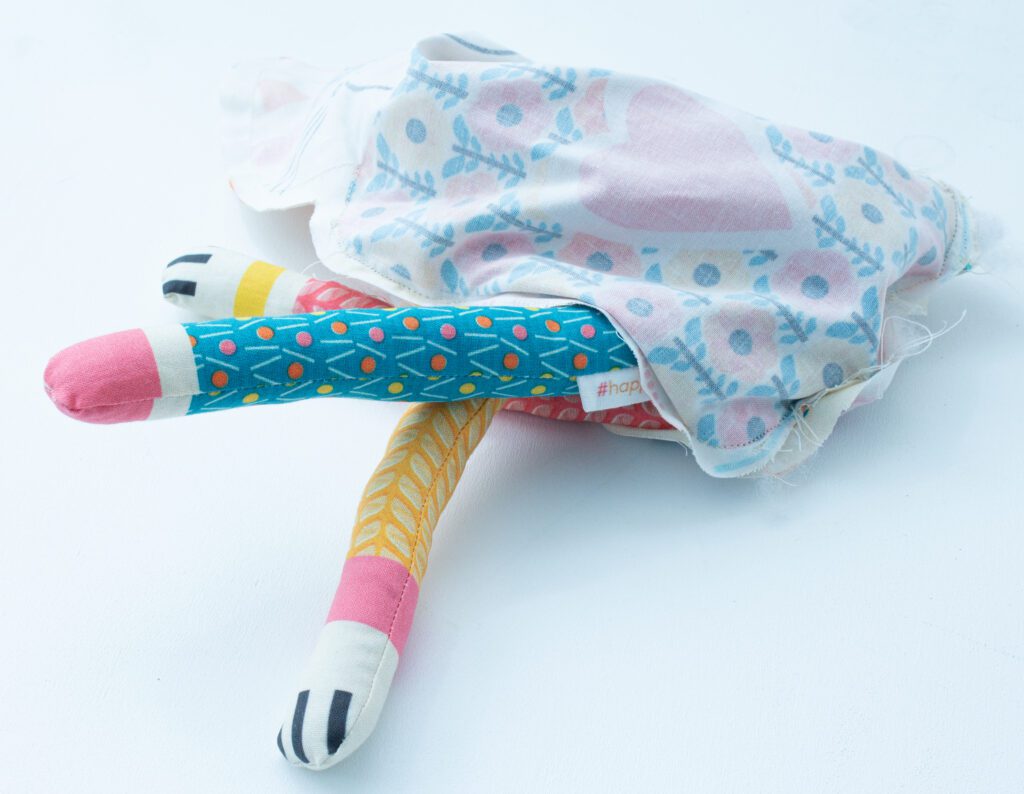
Wow! A great moment!
Shaping the cat’s body
Now, take the chopstick again and insert it into the cat.
Shape the ears. You can also shape the rest of the body with your fingers.
Stuff the cat’s body with filling cotton
Now you can simply stuff the cat with filling cotton until it is as soft/hard as you would like it to be.
Make sure there is enough filling cotton in the ears as well.
You can use the chopstick to stuff the ears.
Close the turning opening of the stuffed animal by hand
Now close the turning opening by hand using an invisible mattress stitch.
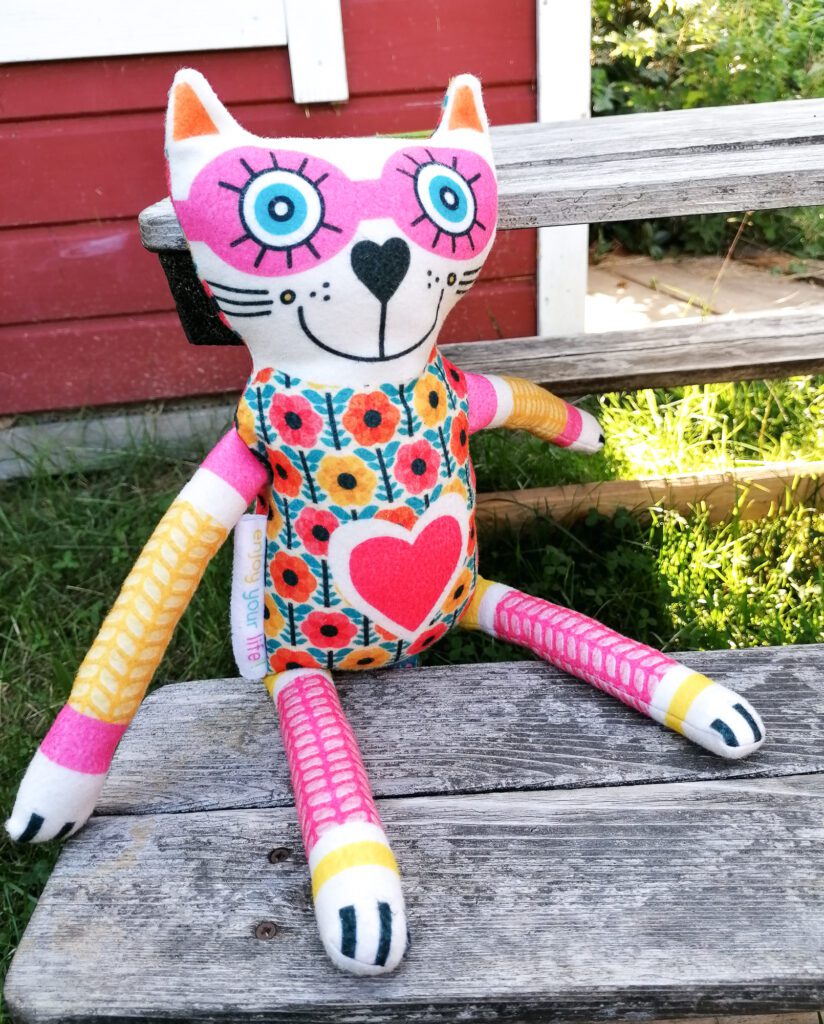
Congratulations! You did it! Your Crazy Cat Companion is ready for love and cuddles!
Show it off to the world! Snap a photo of both of you, share it on Instagram, and tag @happywolfoffortune .
Or send it my way via e-mail to stefanie@happy-wolf-of-fortune.com
I can’t wait to see your adorable new friend in its new home! 🐱💫
Well, now I’m curious:
Which one of the cats is your favorite?
Have you already sewn a cat?



0 Comments